Rose Gold Tumbler
Supplies
Ready to get started? Here is what we used in addition to regular glitter tumbler supplies, like a turner, epoxy, glitter, etc.
- Paint if wanting a base color
- Mod podge
- paint brush
- optional vinyl decal
Instructions
You can recreate this look with any other color using all the same shade, and varying types and sizes of glitter. But we just adore the rose gold!
1. Start by painting the tumbler if you want a base layer under the glitter. Allow to dry.
2. Use a paint brush to paint on Mod Podge in nice even strokes.
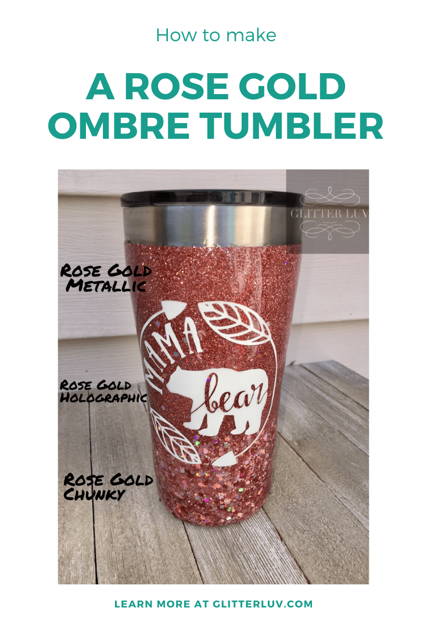
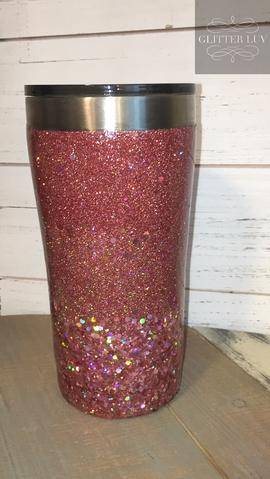
3. Start at the top applying the rose gold metallic. Holding the tumbler at a 45 degree angle when going into the blending area.
4. Repeat in the middle with the rose gold holographic.
5. Repeat the rose gold chunky holographic on the bottom.
6. Fill in any spots and blend as needed again holding the cup at a 45 degree angle When going from the top hold the top up and when going from the bottom for blending hold the bottom up so that the glitter can blend easily. For more tips on blending an ombre like a pro, check out this post.
7. We finished by adding two layers of epoxy and a decal.
Finishing the look
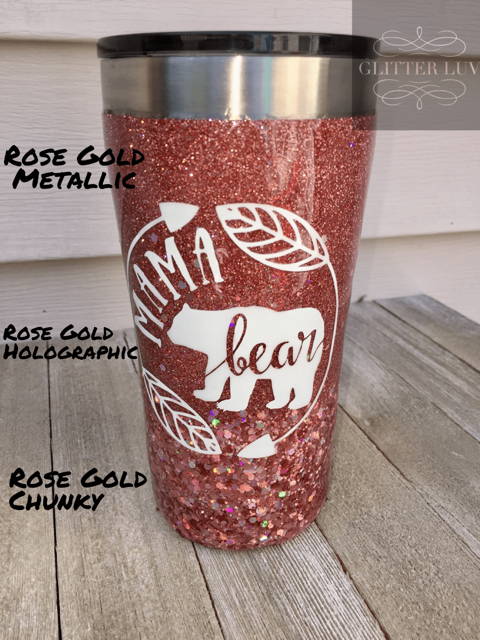
To finish the look you can add a vinyl decal, like a name, design, or whatever personalized touch you'd like to add!!! We added a cute Mama Bear vinyl decal in white. It really completes the look and gives it just what it needs to stand out.
Other ideas for vinyl decals:
-Add a name vertically
-Add a name horizontally
-Add small shapes all over, hearts, stars, etc.
-Add a large vinyl shape
-A work related decal
The sky is the limit with what you can add for a vinyl decal! Hope you enjoyed this rose gold tumbler, be sure to grab these colors because the go quick!!
Now it's your turn! Share your creations with us in our Glitter Luv Creations Facebook group. For more great glittery ideas, follow along with us on Pinterest, where we share lots of great projects.
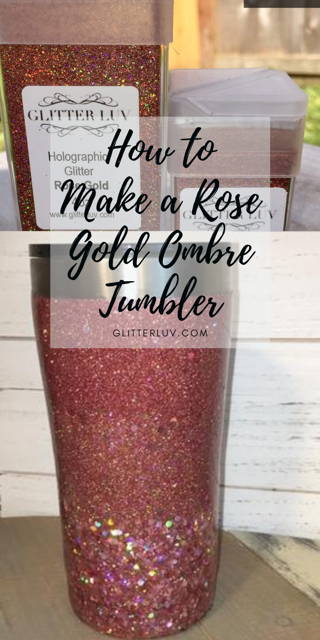
Please pin this post for later: