How to make an Ombre Glitter Tumbler using Spray Adhesive
Supplies
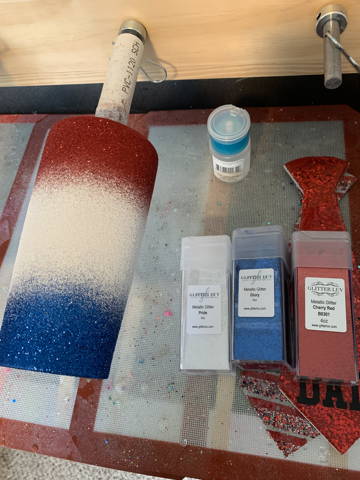
Ready to get started? Here is what we used in addition to regular glitter tumbler supplies, like a turner, epoxy, glitter, etc.
- Spray paint
- Spray Adhesive - Loctite Is a great spray adhesive
- optional vinyl decal
Instructions
To watch a video of this tutorial/method you can see it in our Glitter Luv Facebook Group here.
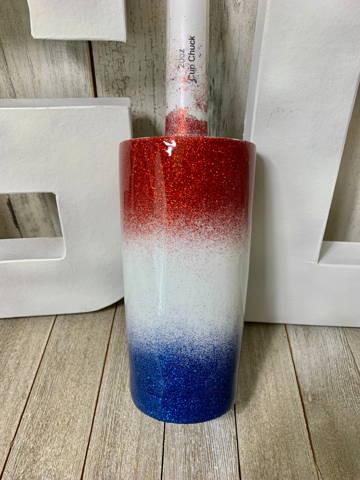
1. Spray paint the tumbler with the colors you would like, we started with white, but you could easily paint each color too. Add a red and blue area to the tumbler on top of the white if desired.
2. Spray the entire tumbler with spray adhesive, then glitter with red. Start at the top and work down. Hold tumbler at a 45 degree when adding glitter.
3. Add in the middle color. Blending in as it goes to each color by first glittering a line around in the middle of the middle color and then working at a 45 degree angle in both directions.
4. Start on the last color at the bottom of the tumbler and work toward the middle color, holding at a 45 degree angle.
5. Spray with another coat of spray adhesive.
6. Go in the reverse order back up the tumbler. Starting with the blue or bottom.
7. Hold the glitter high and add in a light amount in between the two bottom colors with the blue.
8. Repeat step 3, moving back up to the top red color. Remember to hold the glitter high to achieve beautiful smooth transitions between colors.
9. Fill in the very top with the red and then work through the transition as in the pervious steps holding the glitter high.
10. Go back and fill in any spots as needed.
11. Finish with epxoy as desired.
Tip: Spray adhesive dries quickly, work fast, or add another coat as needed to specific areas of the tumbler.


Finishing the look
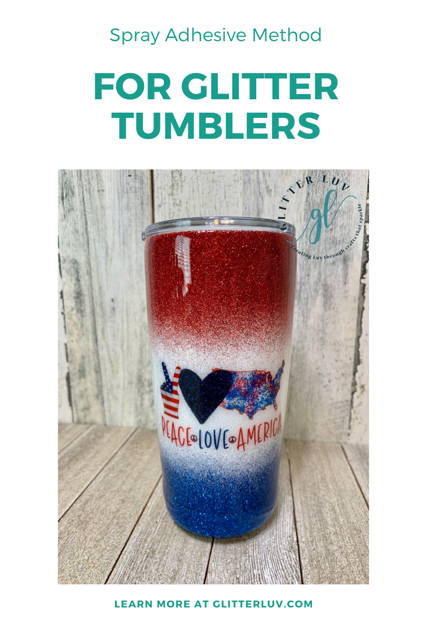
To finish the look you can add a vinyl decal, like a name, design, or whatever personalized touch you'd like to add!!! We added a decal using the waterslide technique. You can see our tutorial on how to do the waterslide technique with our video on our Youtube channel. And add how ever many coats of epoxy you desire.
Now it's your turn! Share your creations with us in our Glitter Luv Facebook group. For more great glittery ideas, follow along with us on Pinterest, where we share lots of great projects.
Please pin this post for later:


