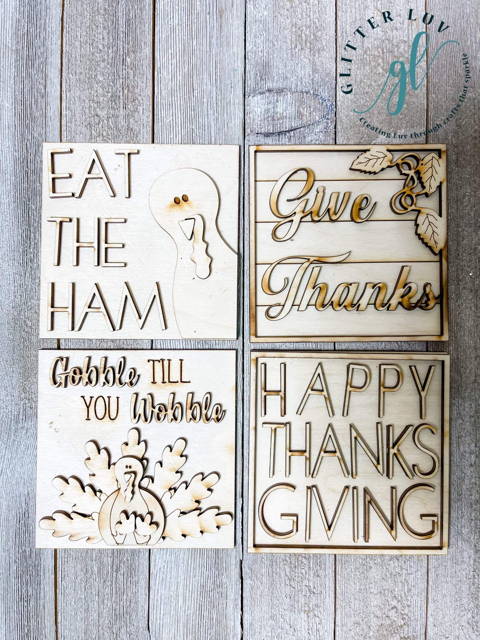
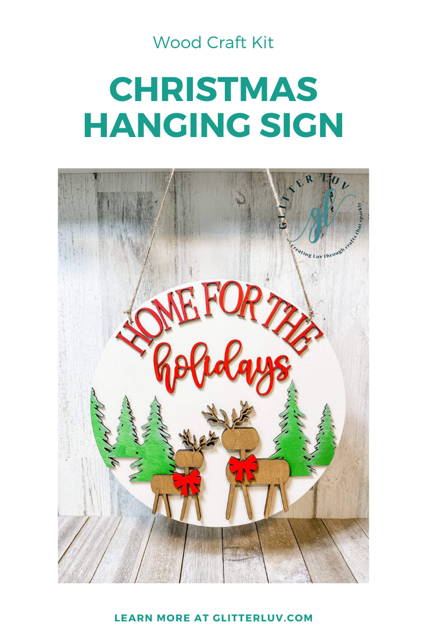
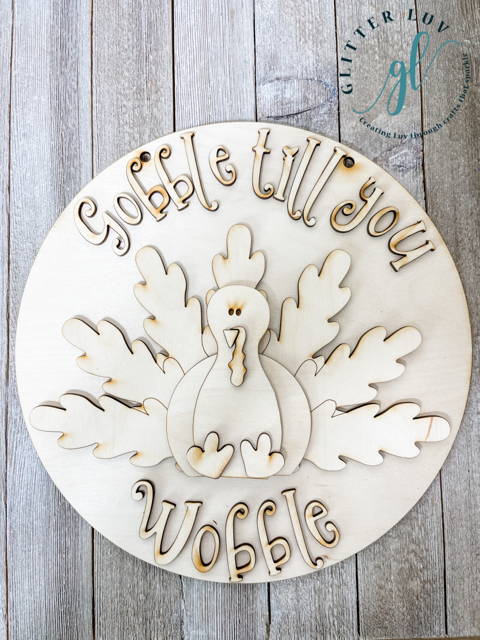
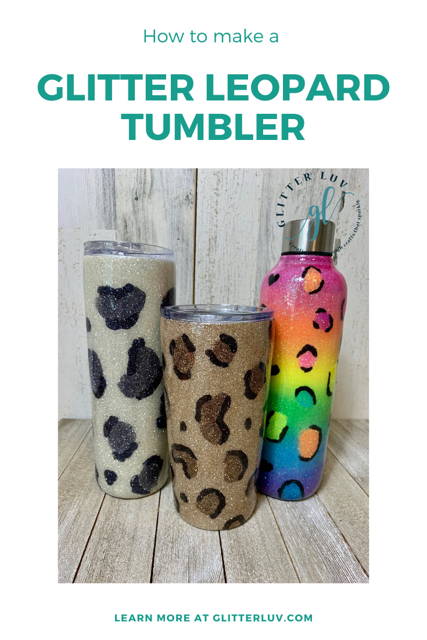
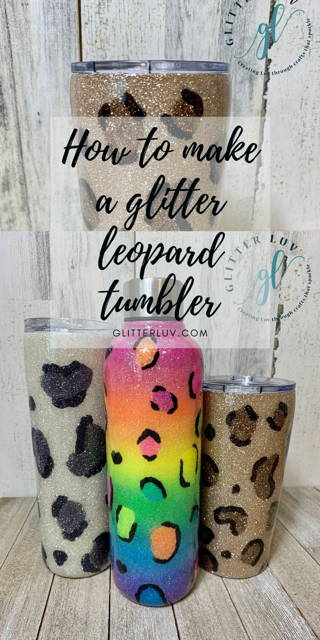
New Year's Wood Craft Kits
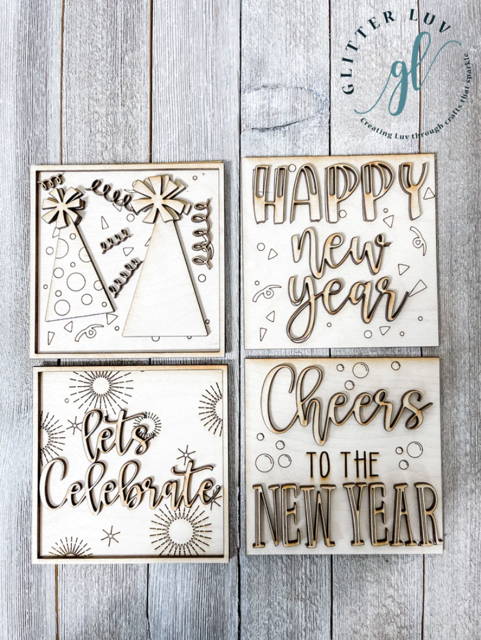
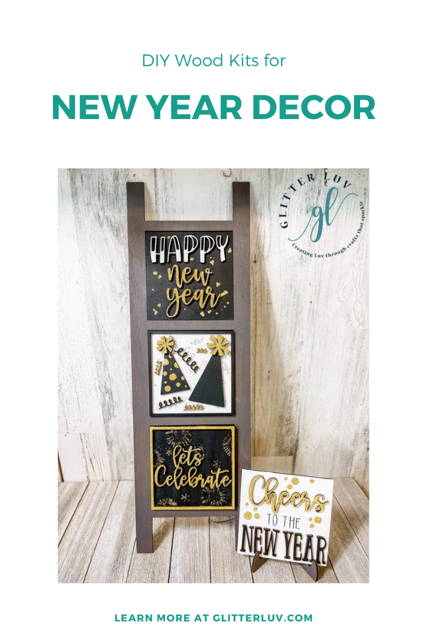
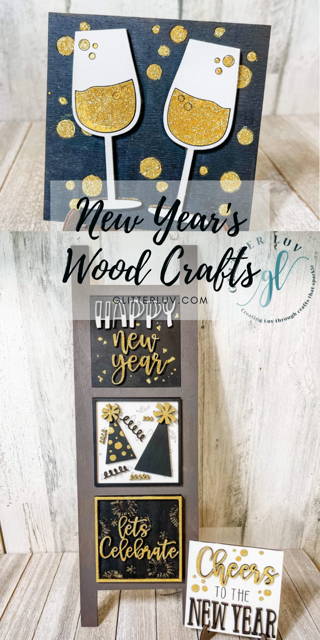
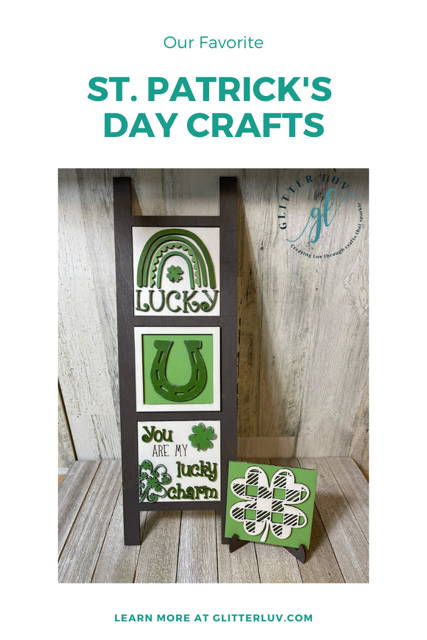
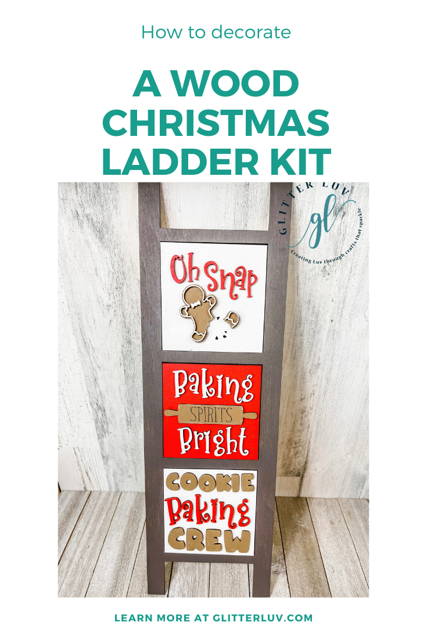
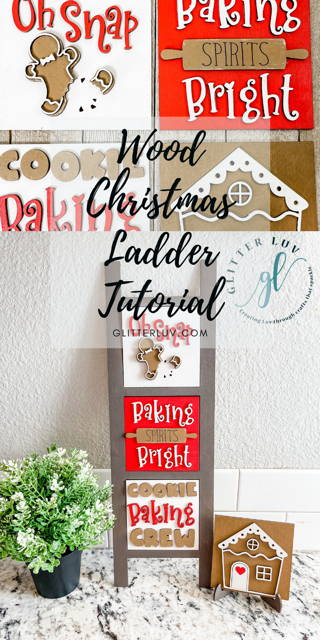
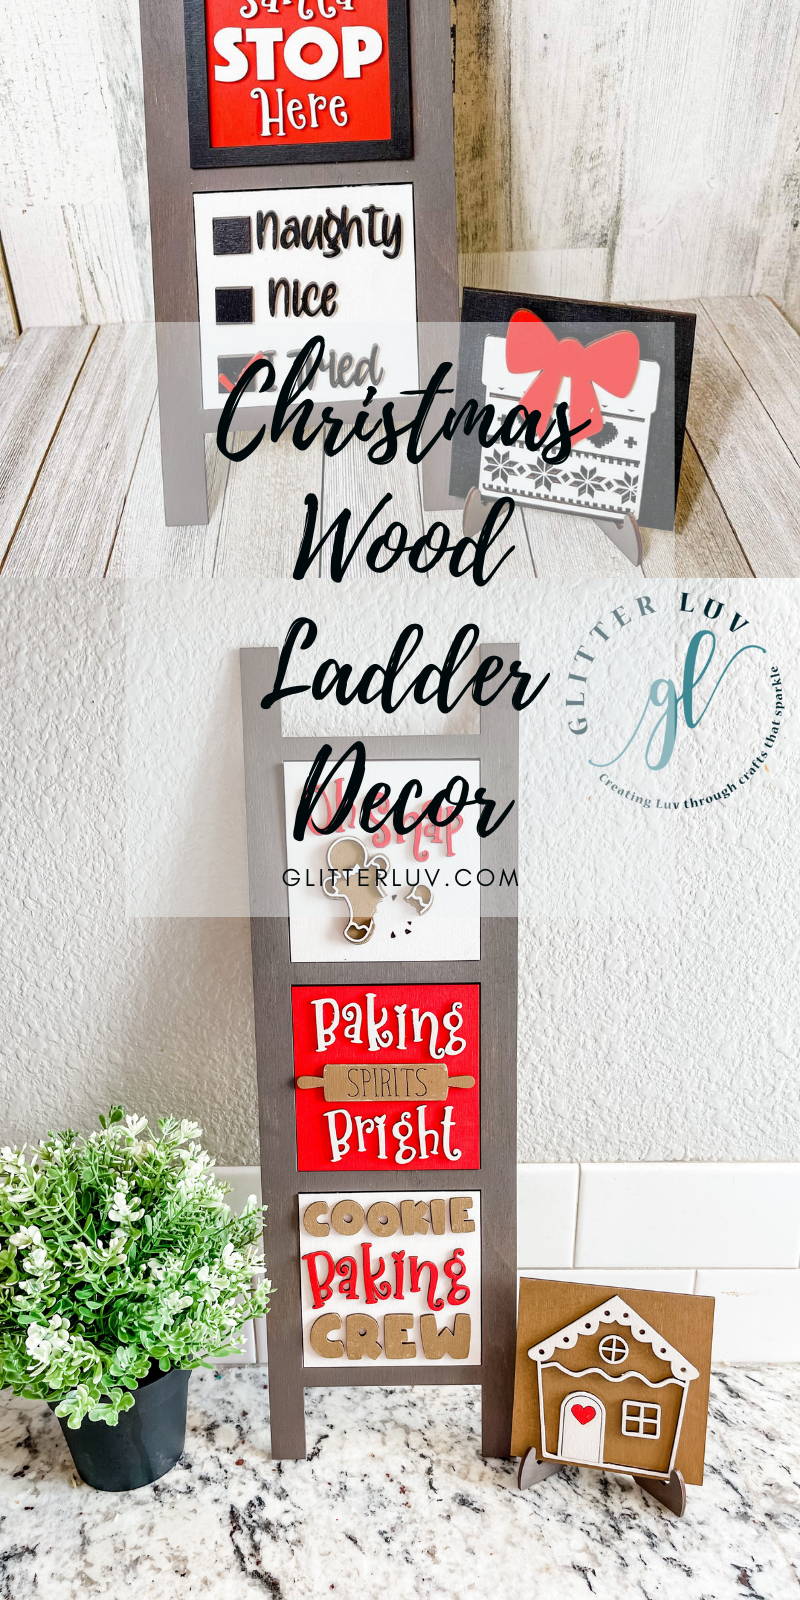
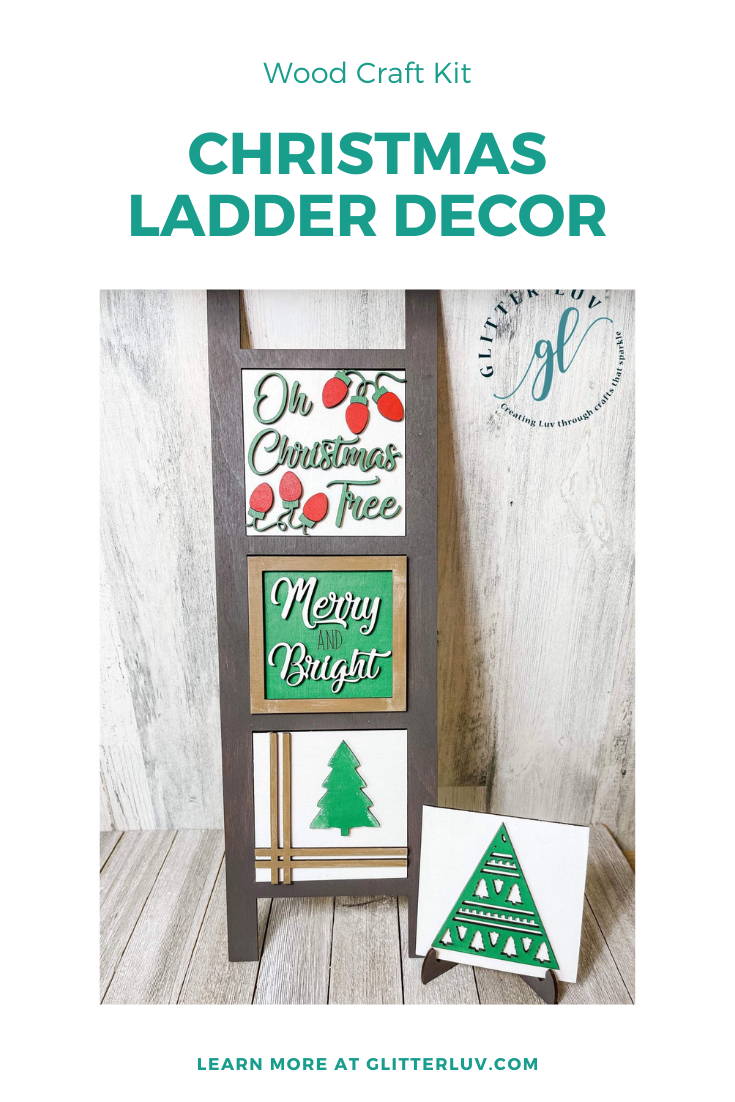
Have you seen our wood tray kits? We have a variety of holiday and everyday kits that are so fun to make your own. Plus, we have some really cute kits for New Year's decor. We have a New Year's wood tiered tray kit and a wood ladder kit. Use your own spin on these kits to create a the perfect decor for your home. Add glitter for an extra special touch.
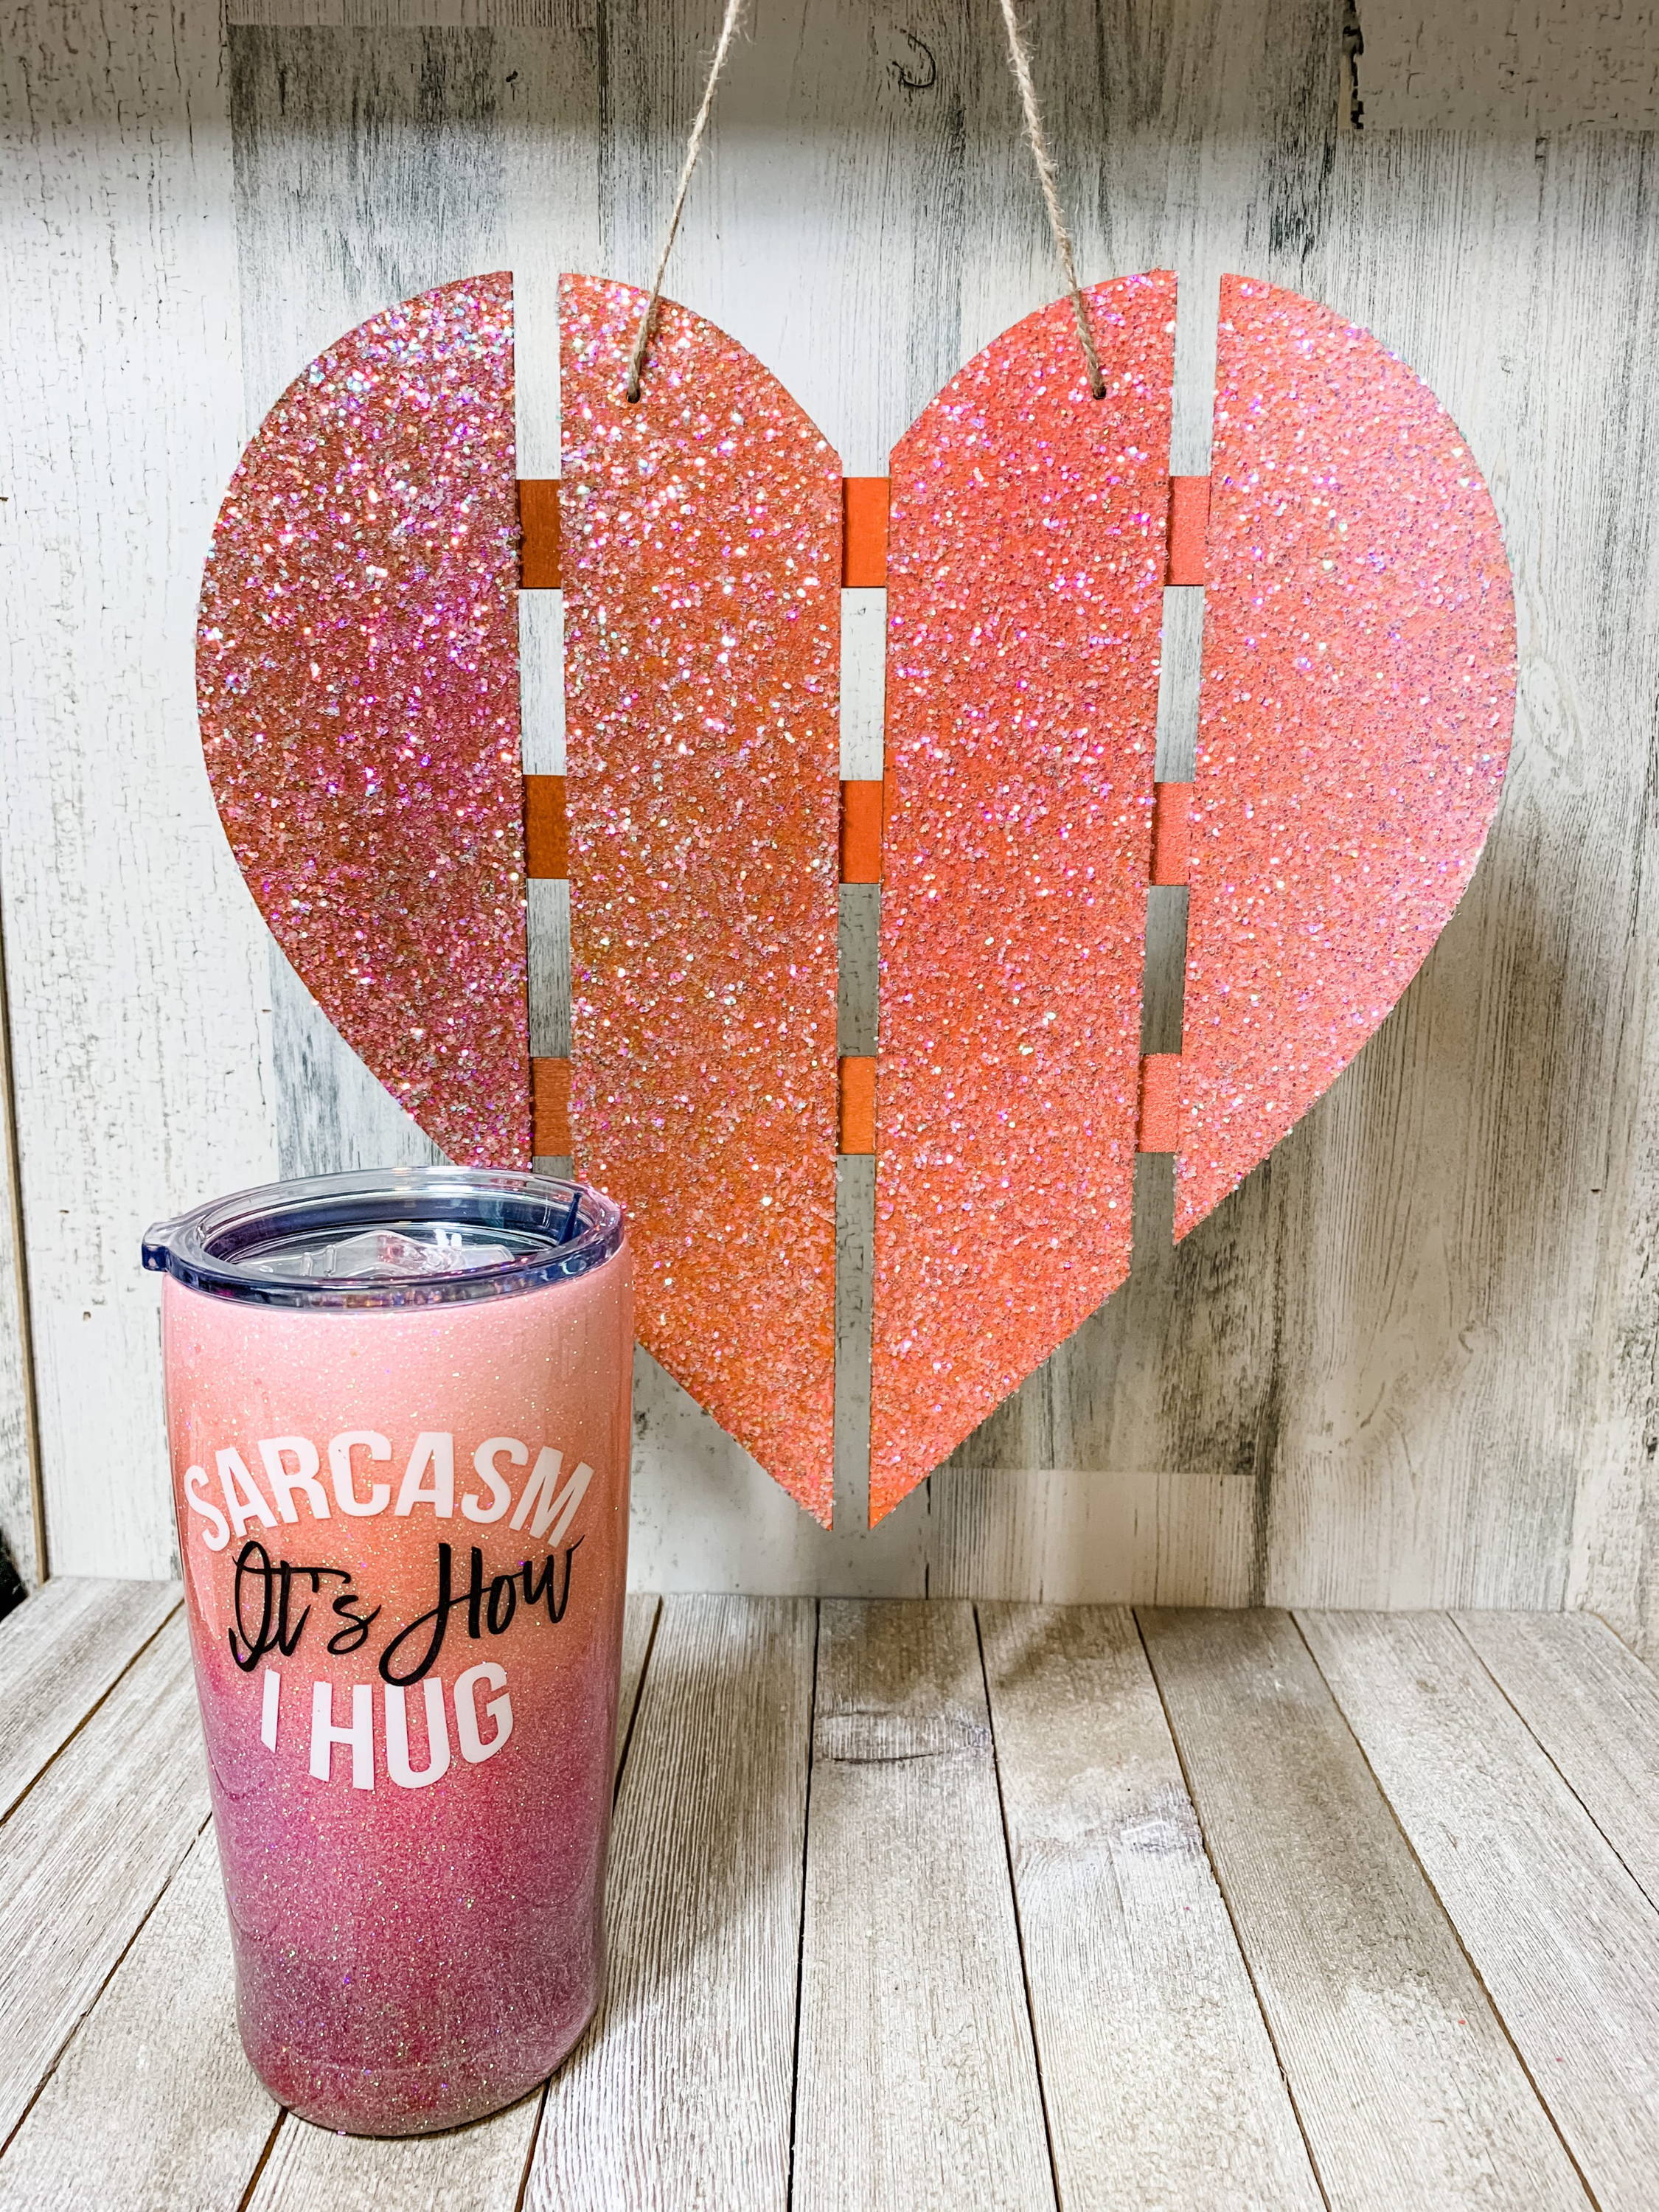
If you haven't seen the tiered tray trend yet, they are so adorable and completely customizable. Add them as a centerpiece to your dining table, kitchen island, or even an entryway table. The trays come in a variety of colors and materials like wood, metal or a mix of both. Some have two tiers, others have more. They are fun to change and decorate differently for each holiday. And our interchangeable wood ladder kits are so fun! You can display it in the same place and change it out for each holiday. Especially with the New Year coming up!
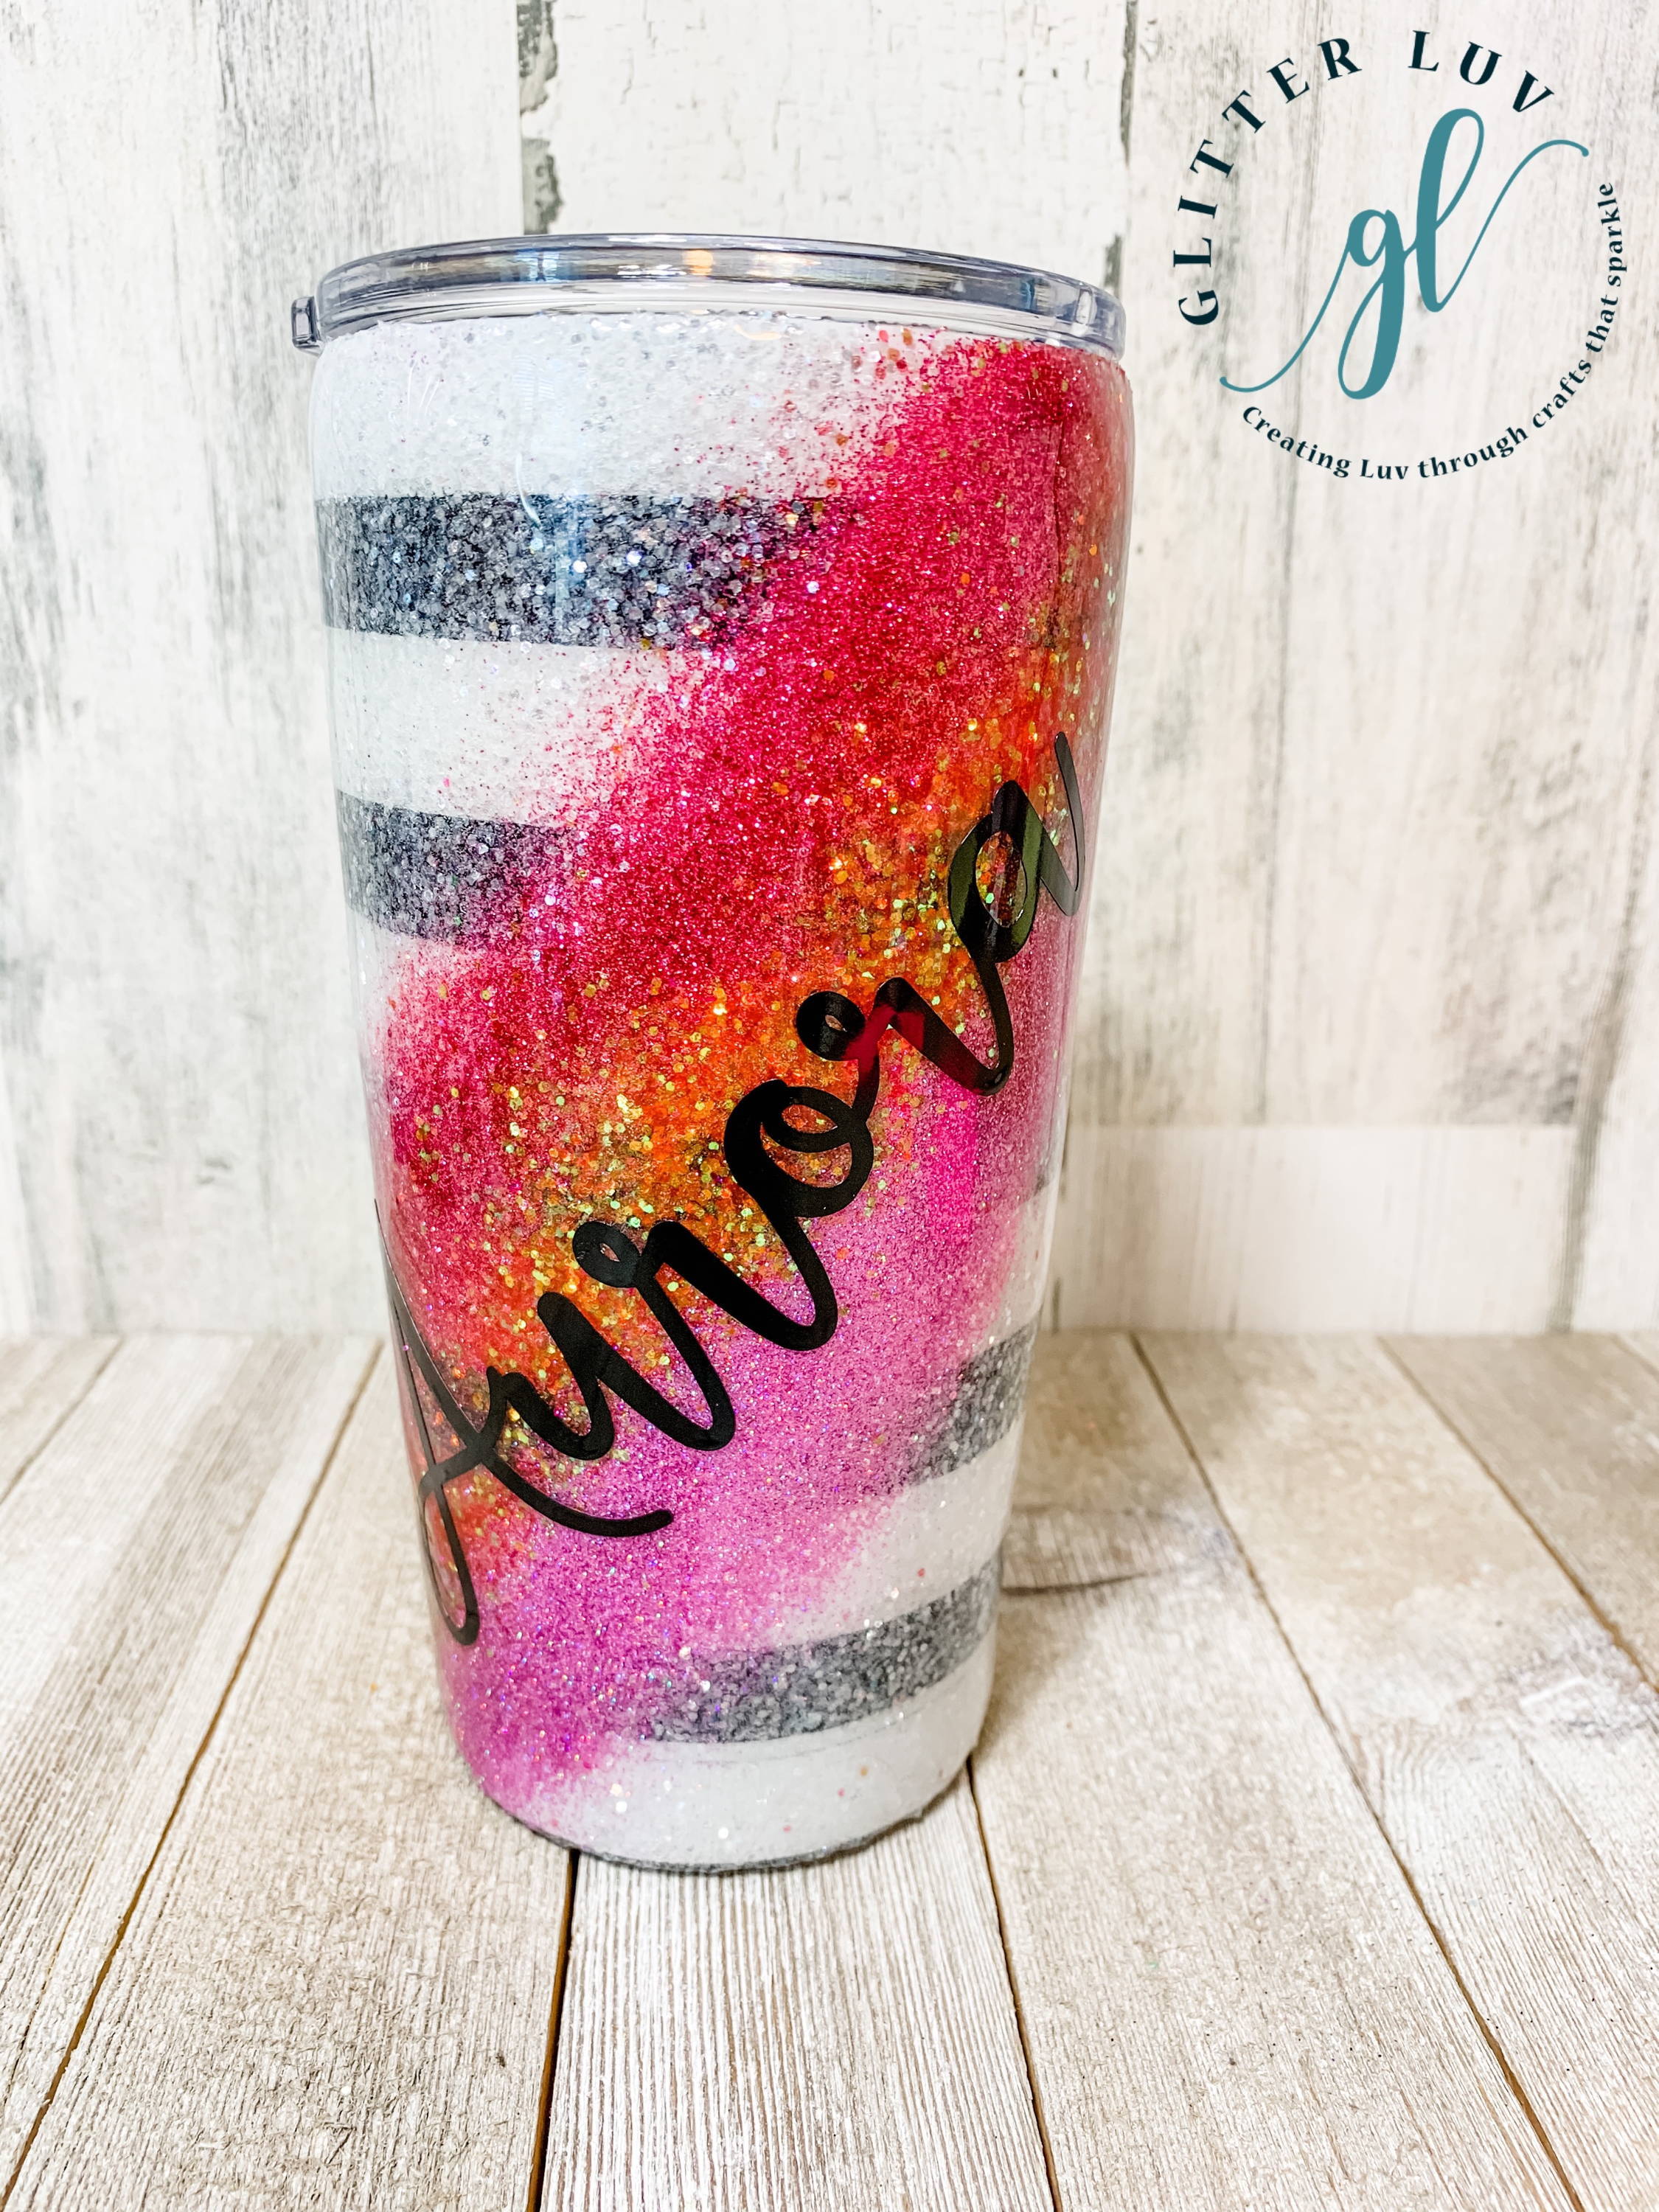
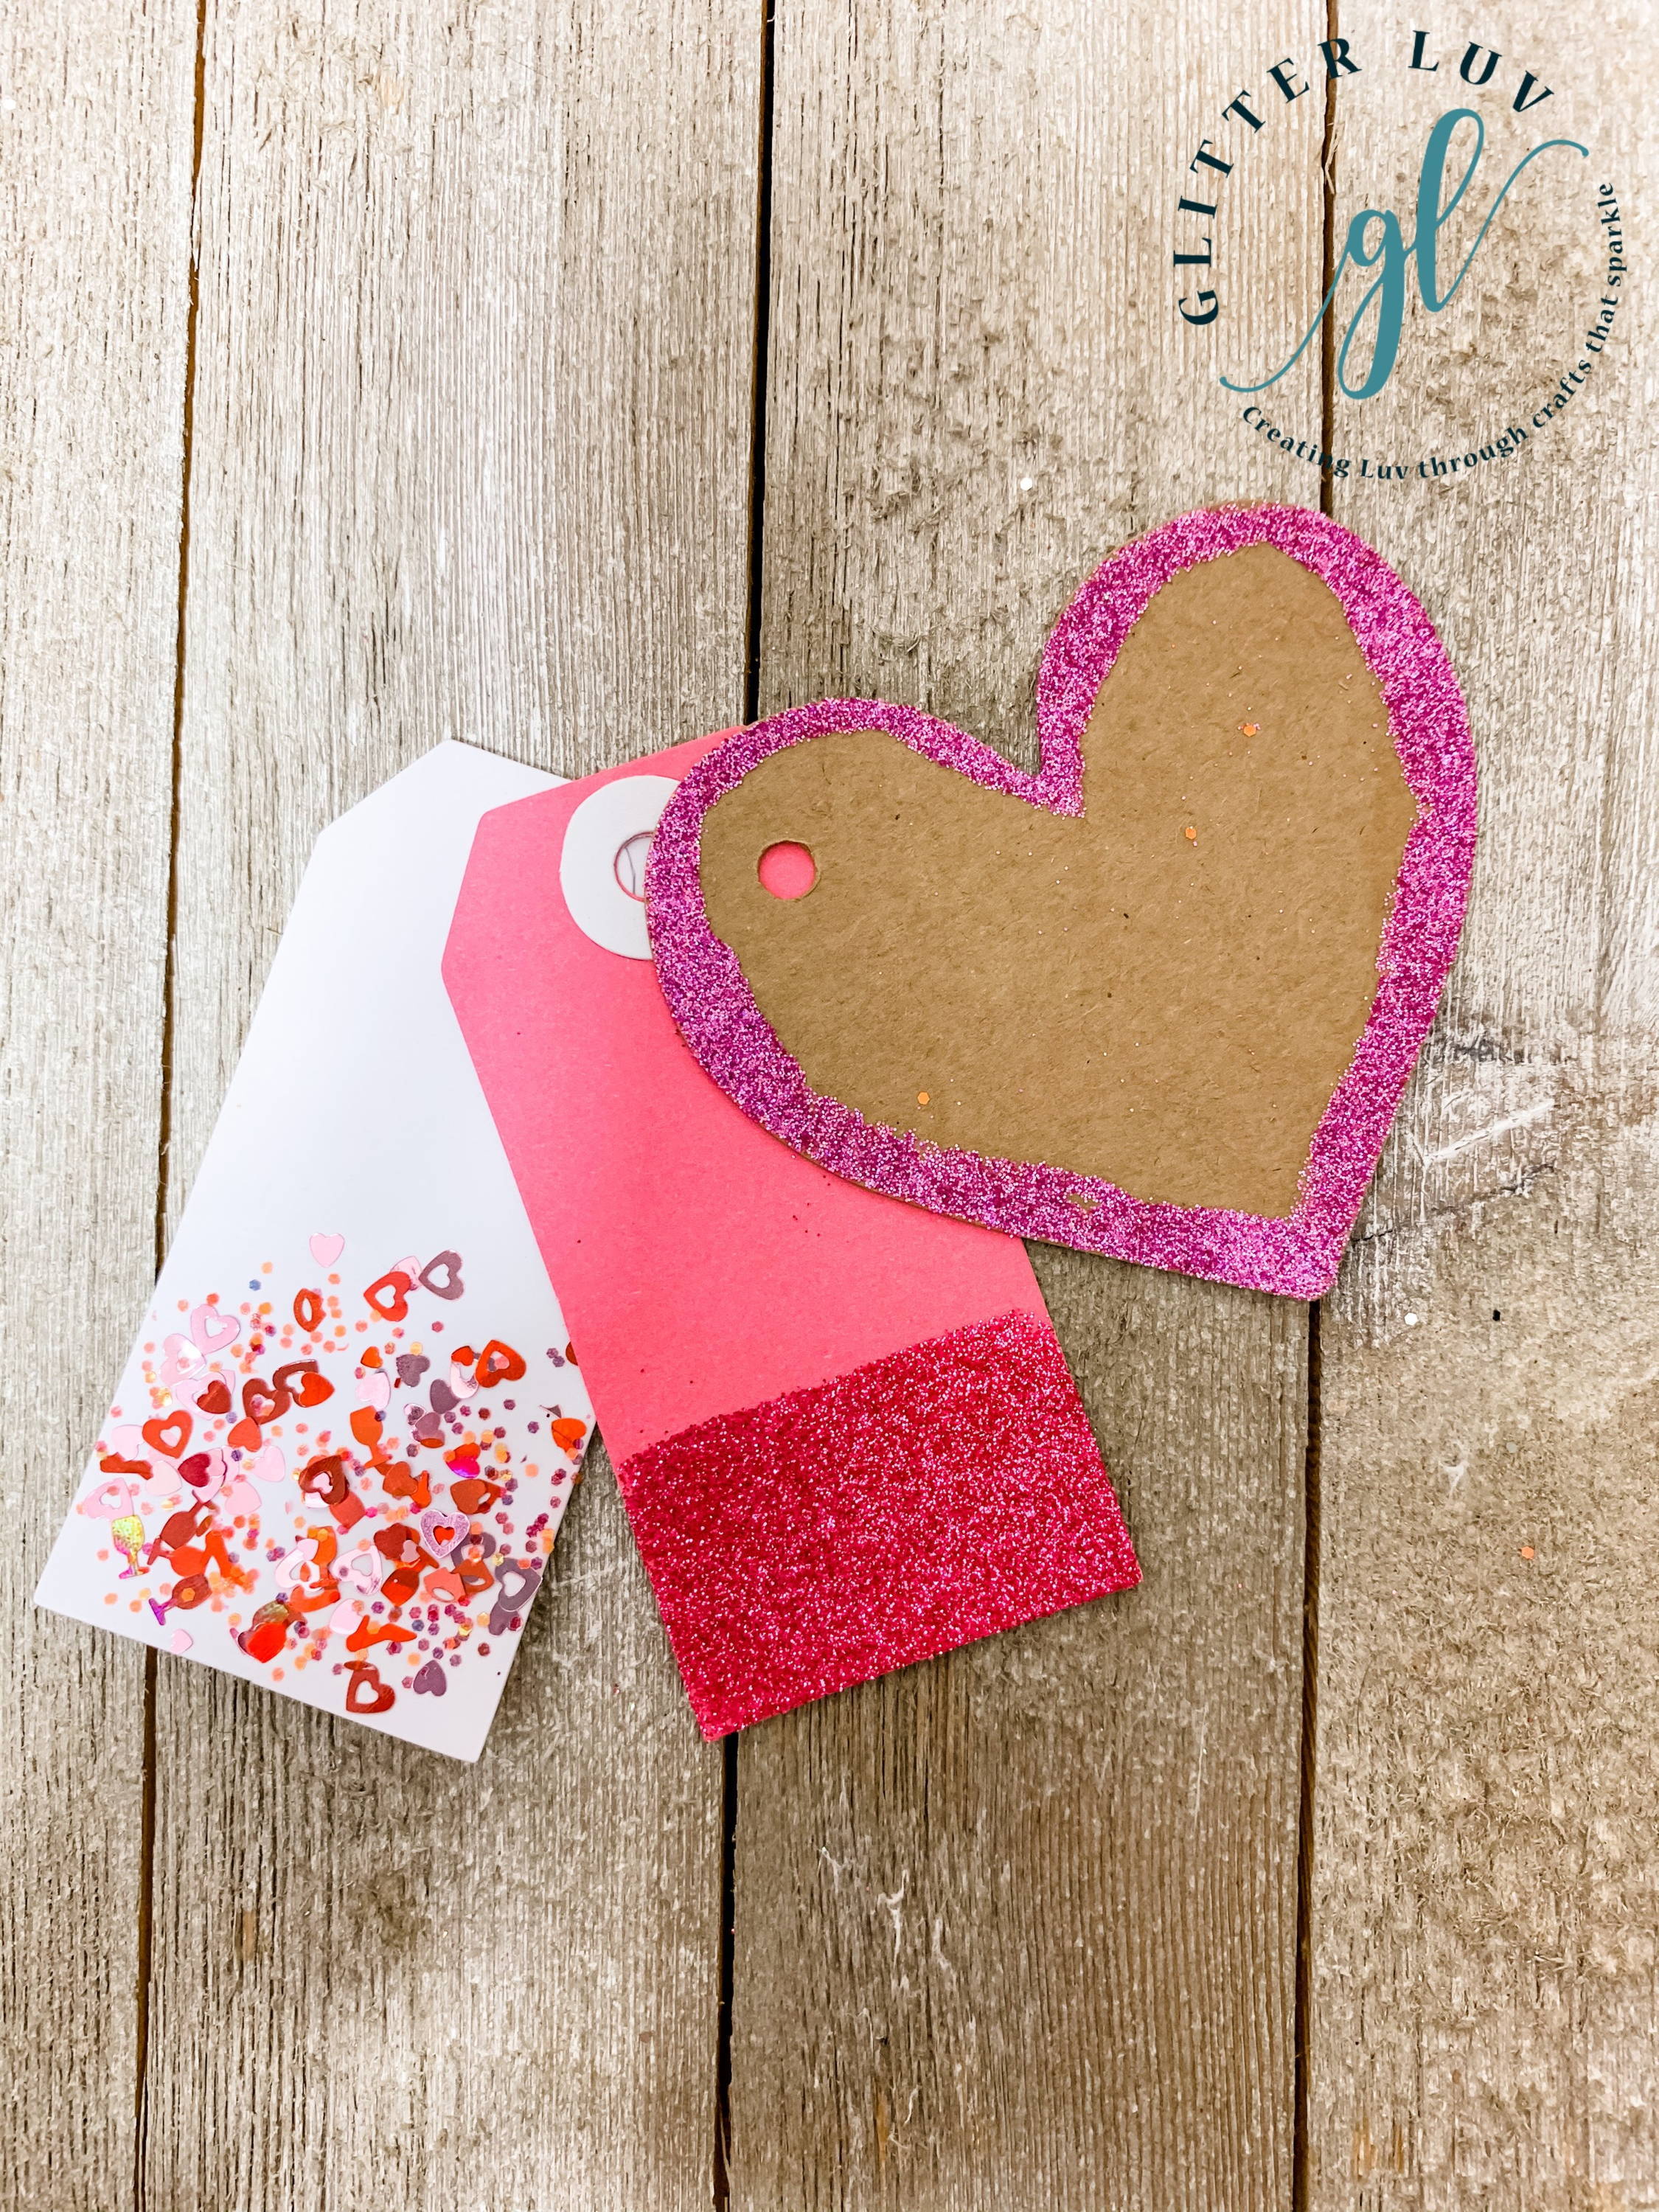
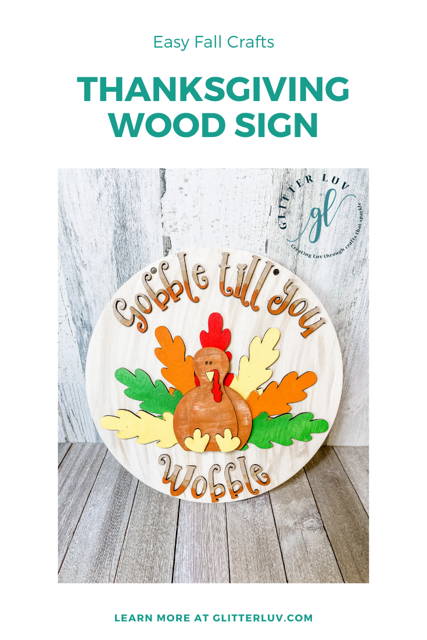
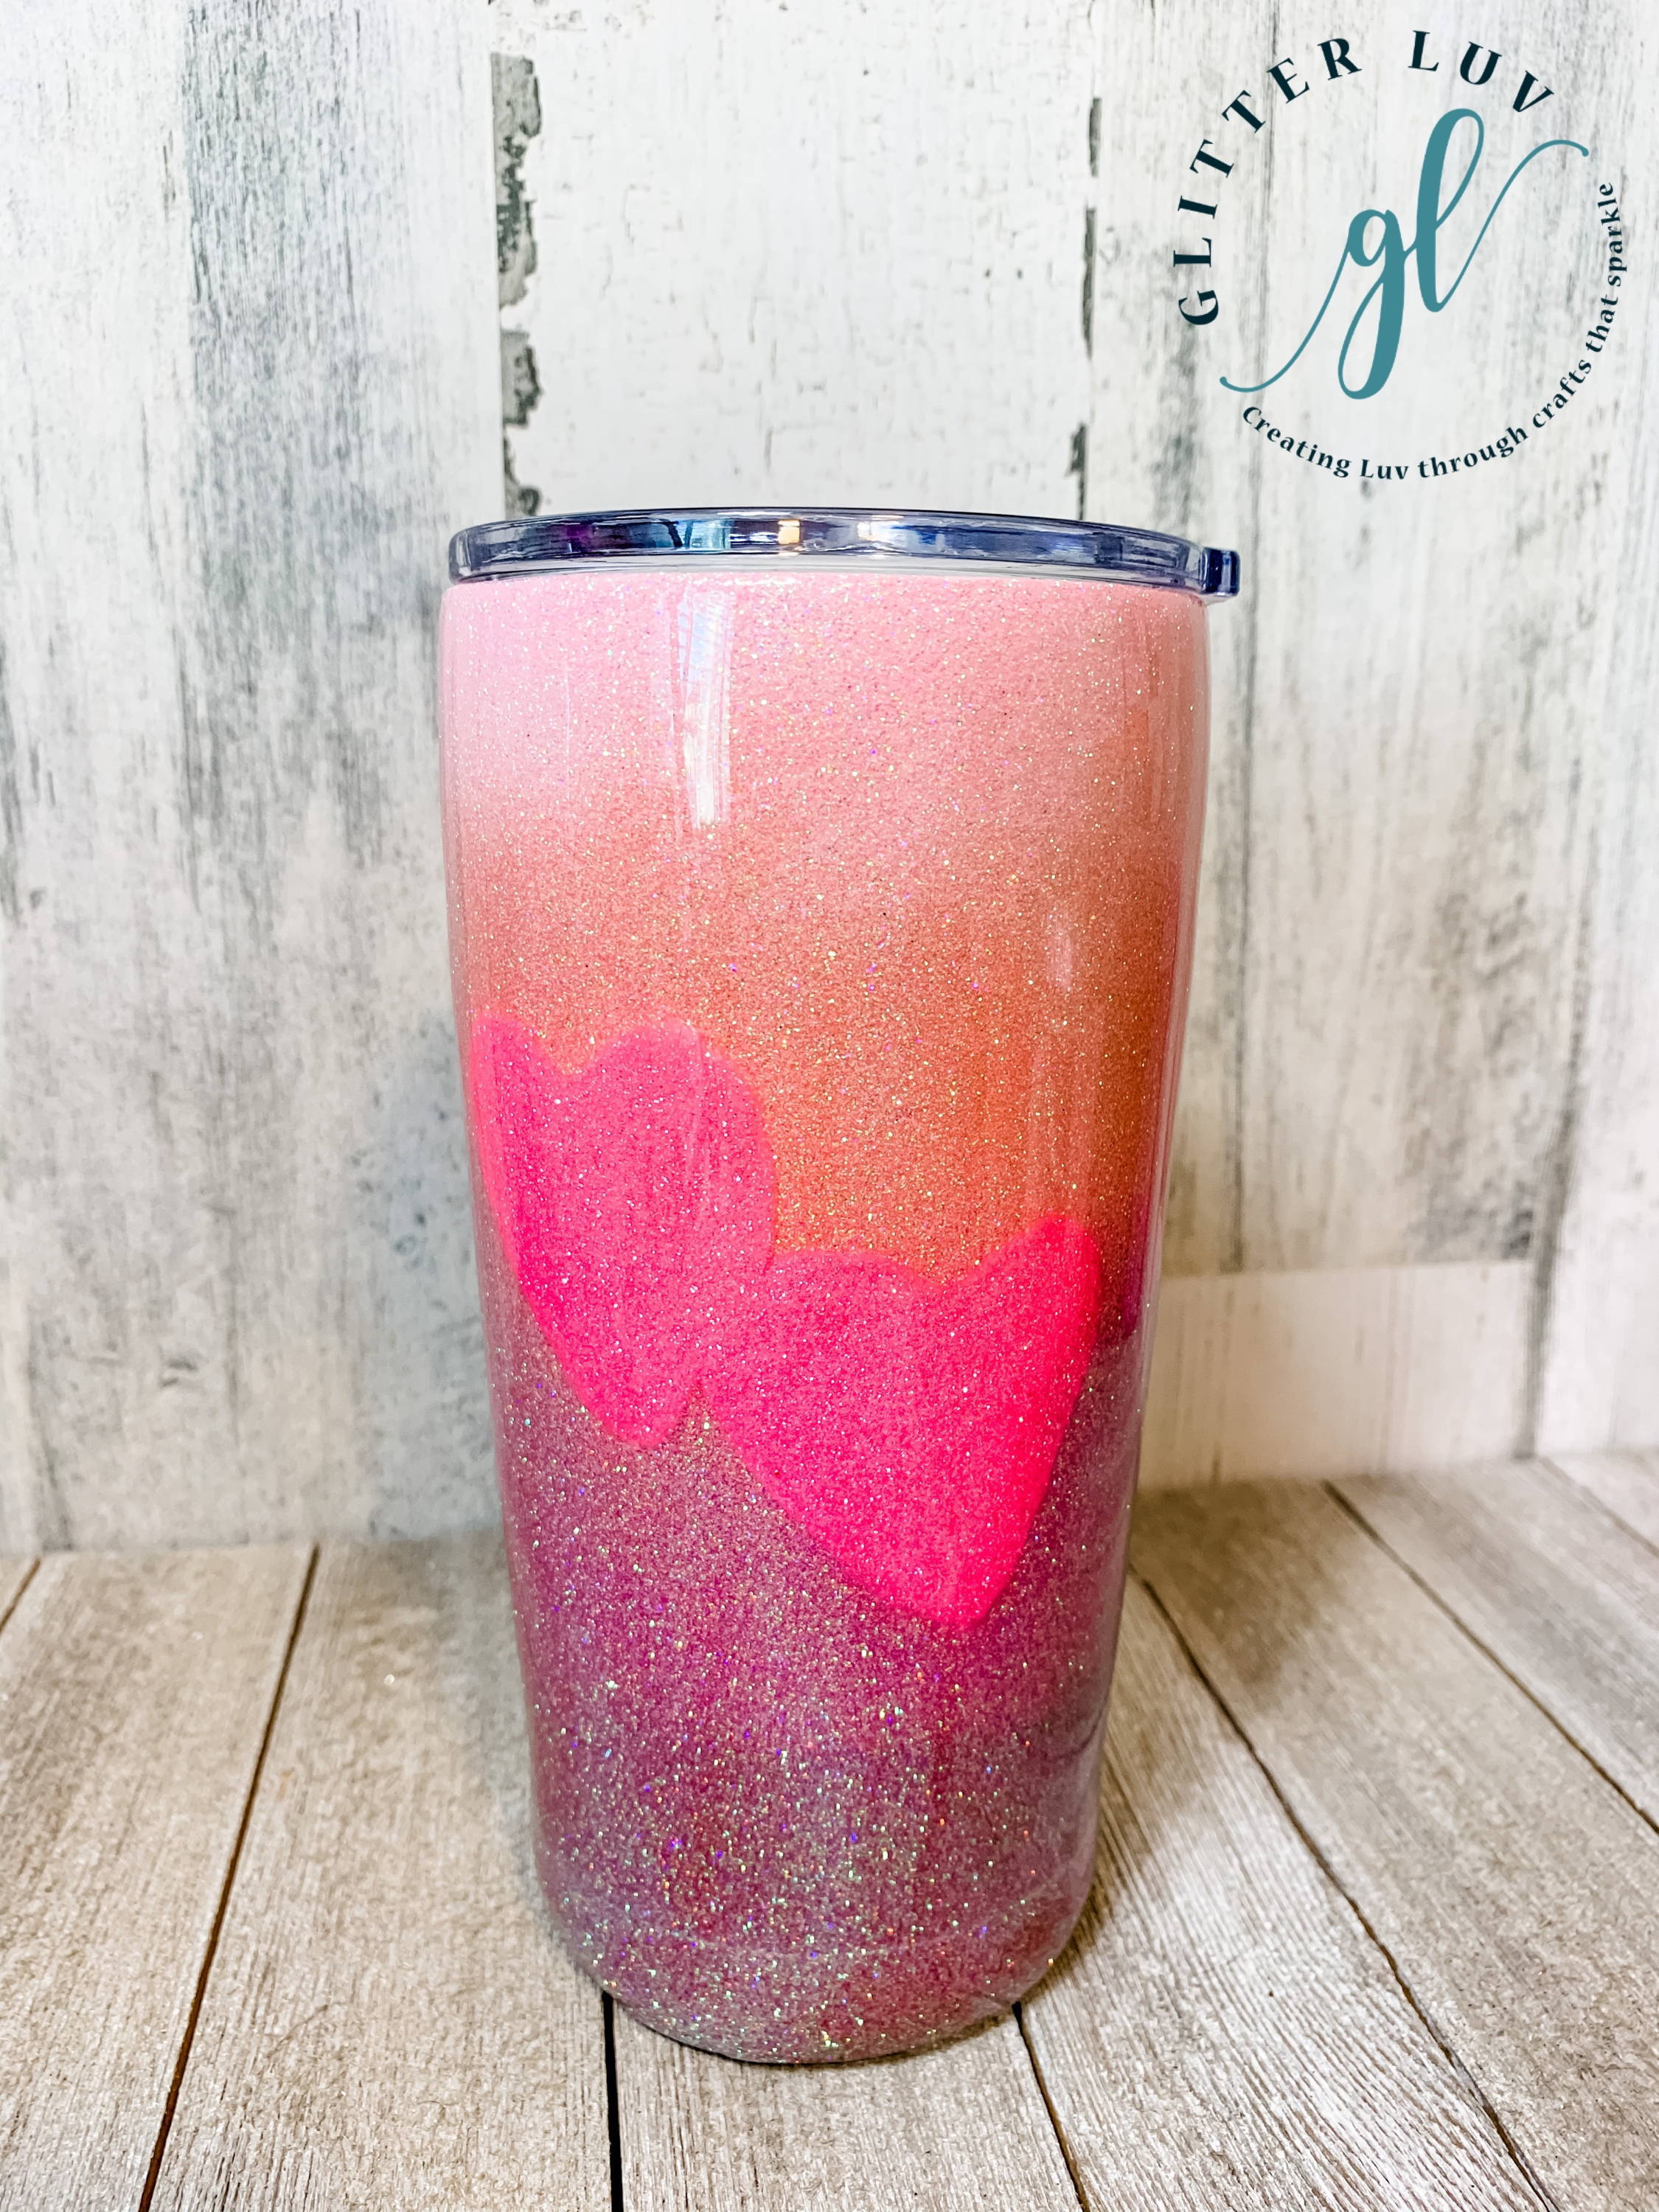
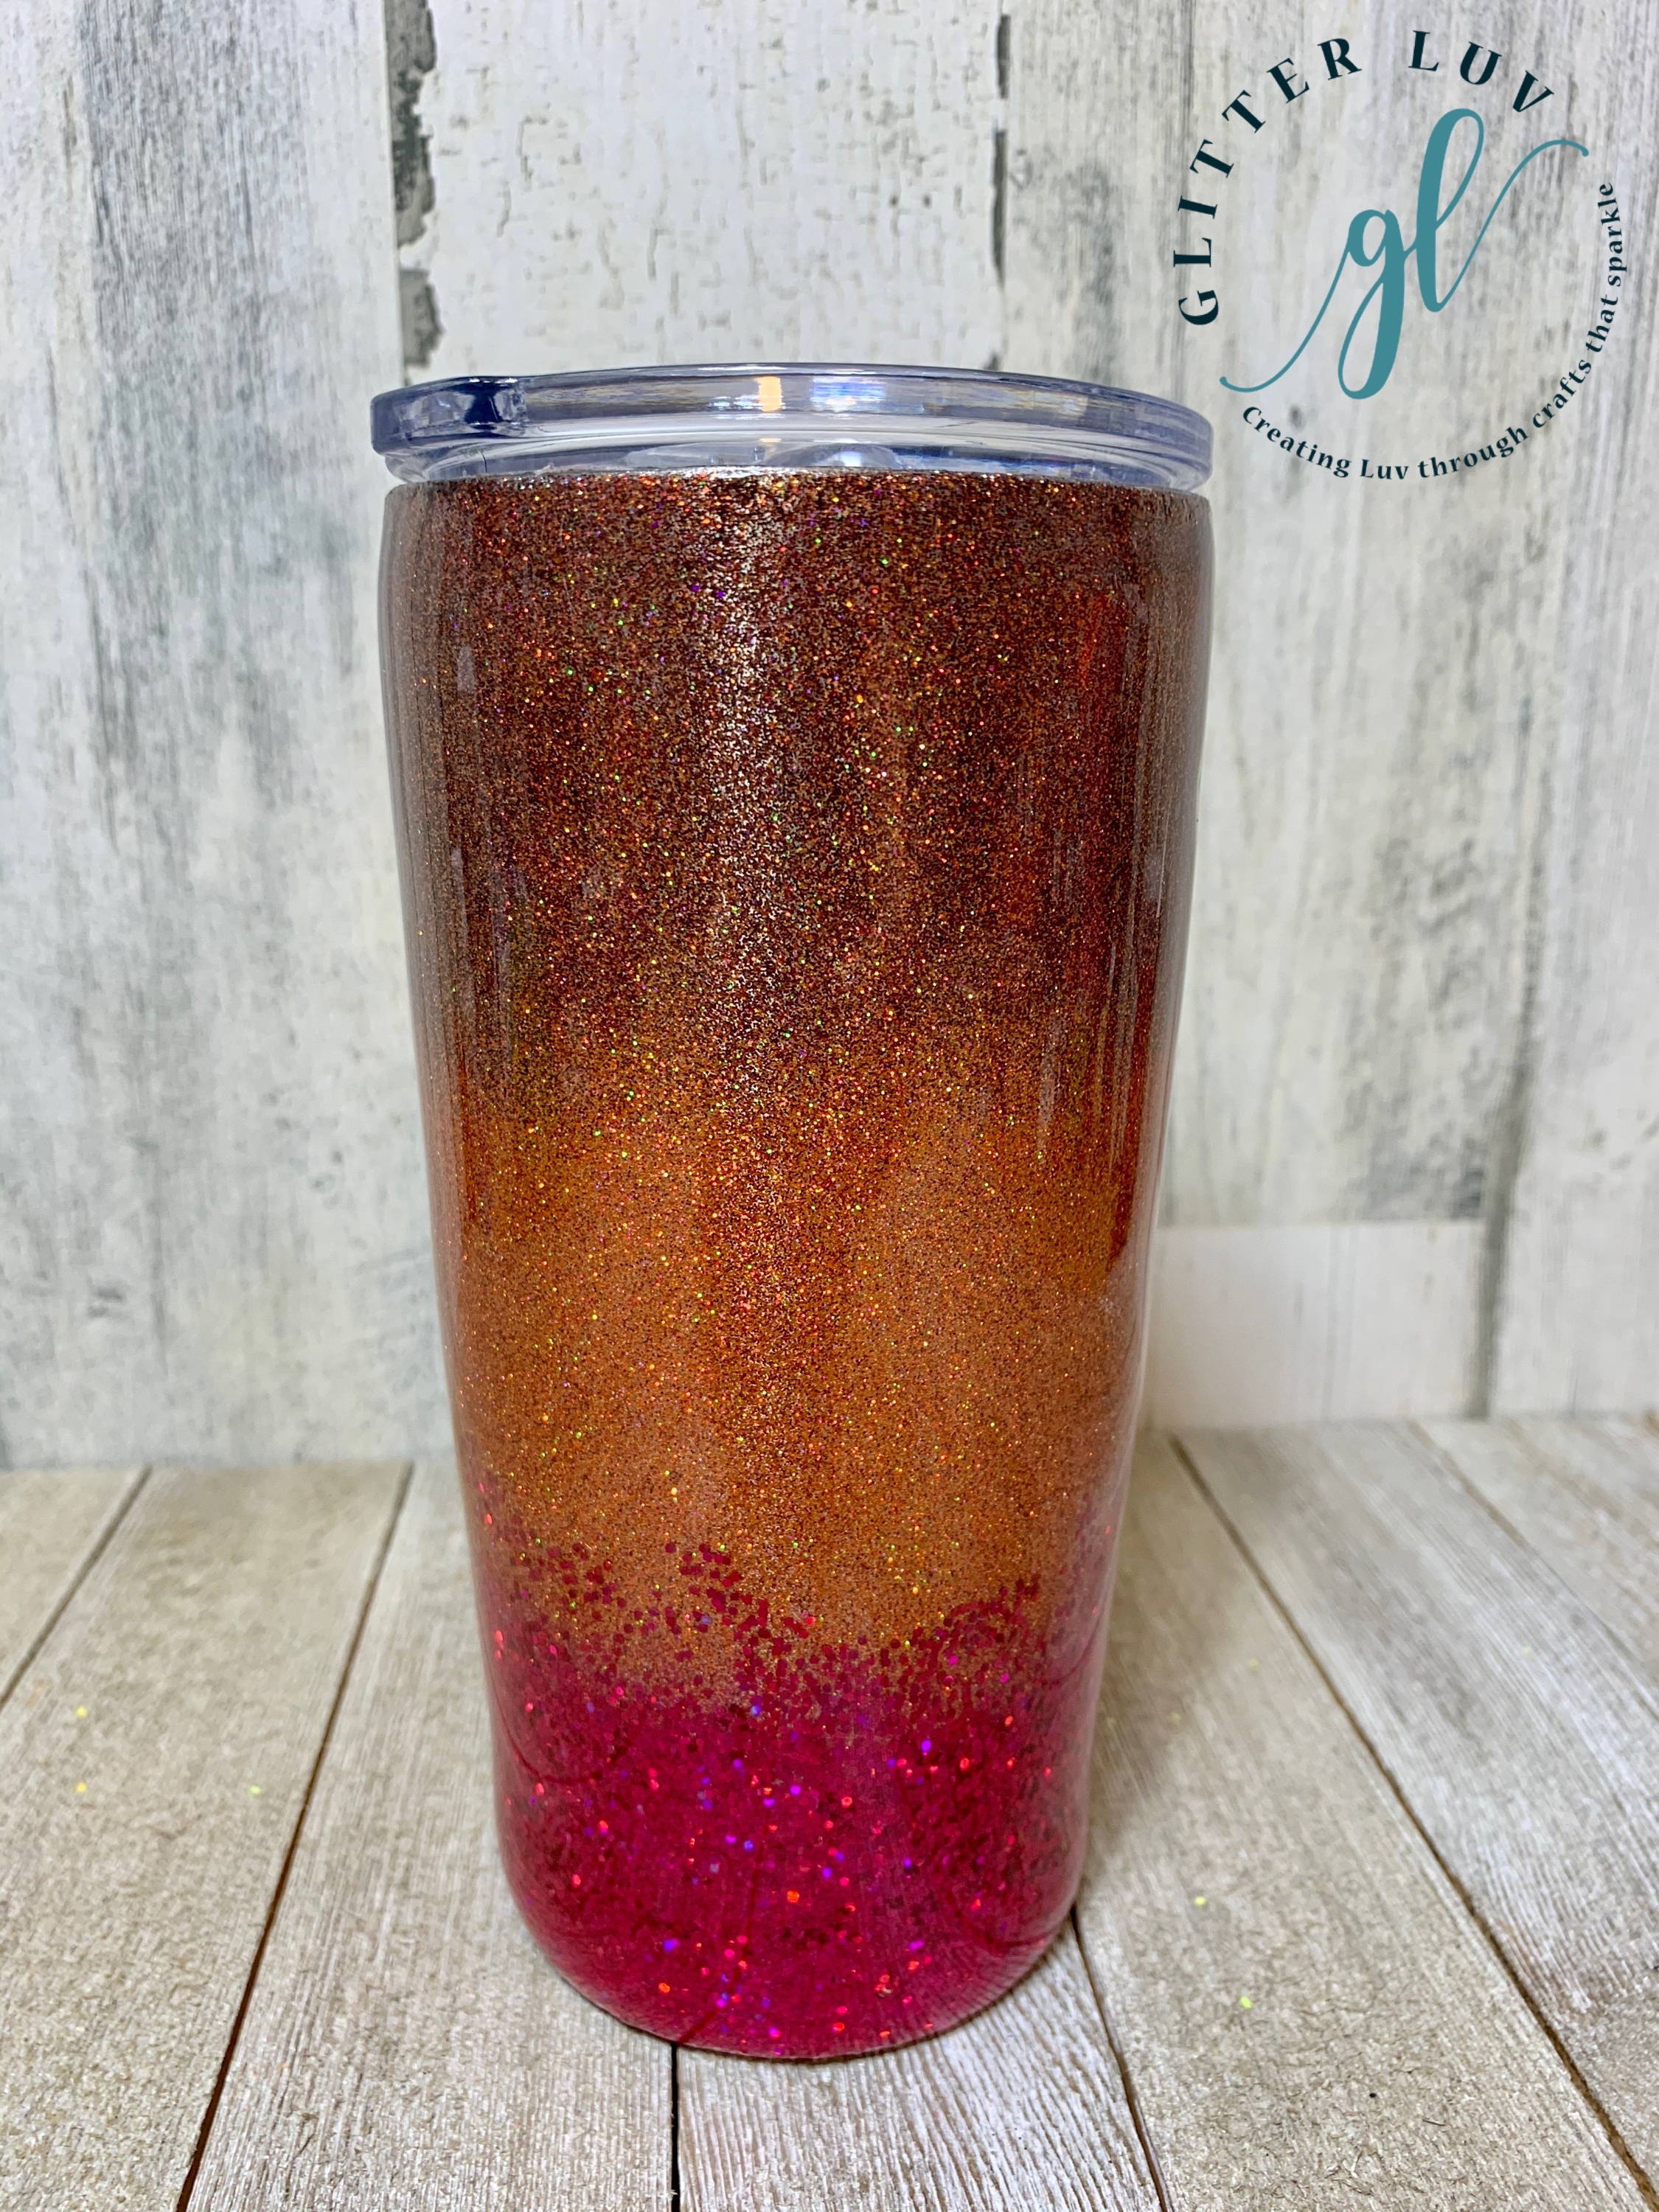
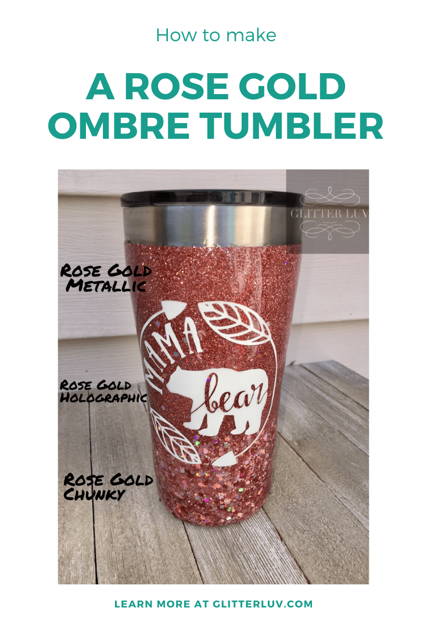
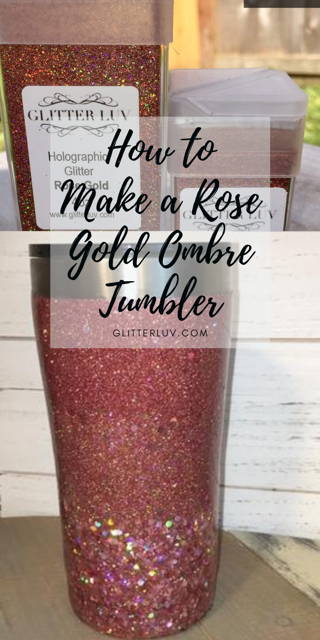
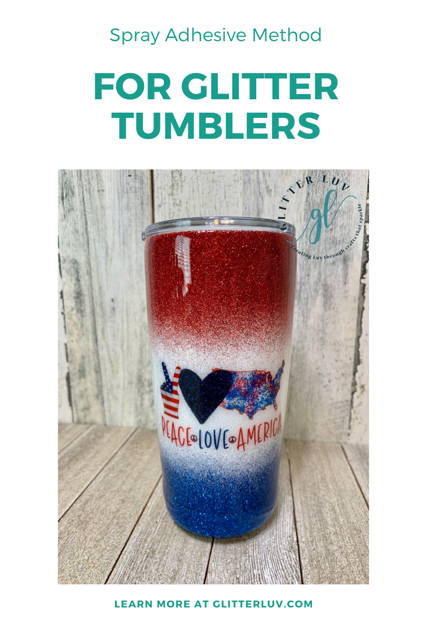
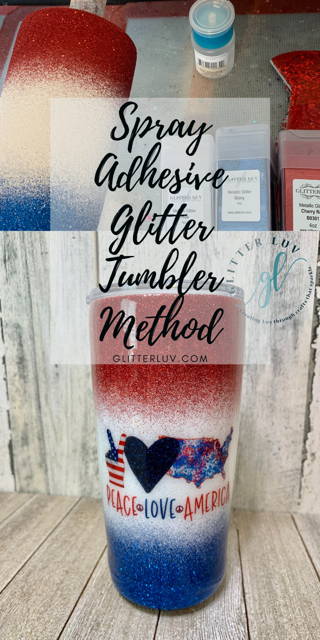
Customize your New Year's wood craft kits with colors that match your style. If you love bright vibrant colors, use those. If you want more muted tones, use those instead. And then get painting or staining. After the paint dries, it is time to have some fun and add in the glitter! Go for small accents of glitter. Or go for larger glittered areas for lots of sparkle. Take a look at our finished kit to get ideas.