Epoxy Glitter Stars
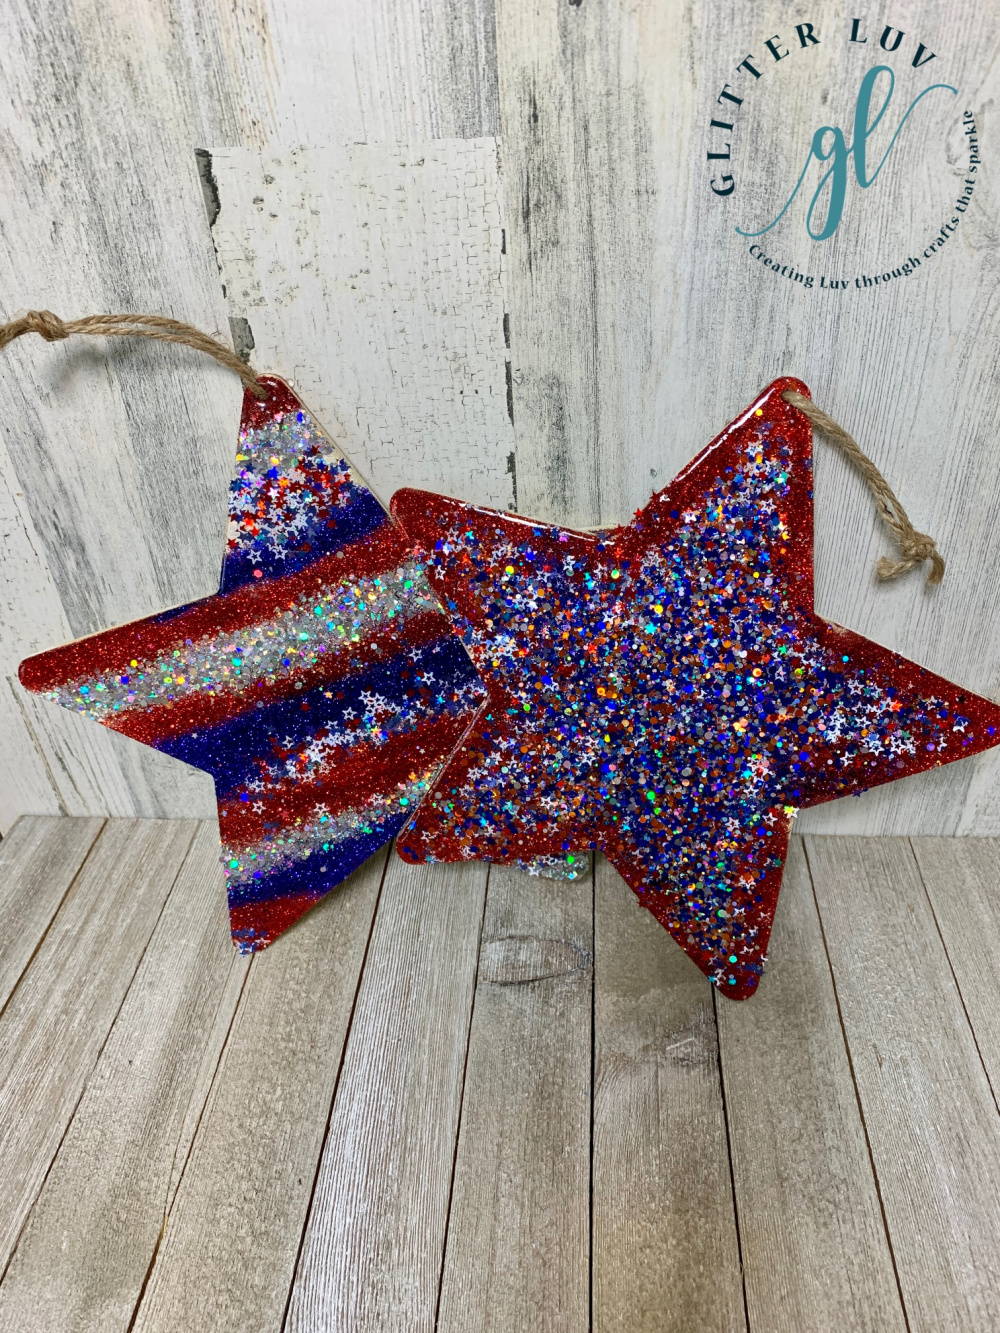
Stars, stripes, and of course glitter!!! We have all of these plus, patriotic colors for a fun and simple craft that will easily dress up your home for the Fourth of July. Let's make epoxy glitter stars! There are oodles of possibilities with this simple craft, but the glitter really adds that wow factor, as well as the shiny finish of the epoxy!
The other great thing about this simple idea is that it can be executed with all sorts of shapes. Stars work perfect for patriotic decor, but there are so many awesome ways to use other shapes in a similar way for different holidays and in different color schemes. Be sure to read all of the ideas we have for using these glitter epoxy stars below.
Let's dive into how to make these patriotic stars. Grab your favorite patriotic glitters, and if you don't have any patriotic glitter colors, our Independence Pack is a perfect place to start or check out all of our patriotic themed glitters here. After you've gathered your supplies, let's get started. And don't forget, we would love to see you tag us in your projects on social media so we can feature you!
Supplies
You will need a few basic supplies to get started (as well as what you use to epoxy usually):
1. Wood stars
2. Glitter
3. Epoxy
4. Mod Podge or spray adhesive
5. Paint if wanting a coat under the glitter - optional
6. Paint brush - optional
Instructions
Let's get crafting.
1. Paint stars with a base color if wanting a better coverage underneath the glitter. Allow to dry.
2. Paint on a thin layer of mod podge or spray with spray adhesive.
3. Sprinkle on glitter. Going in stripes or other patterns as desired. Solids work great too.
4. Allow to dry.
5. After dried, Apply a layer of epoxy (following instructions on epoxy) to seal in the glitter.
6. Allow to cure.
There are so many ways to add glitter to these stars. Start by glittering with one color and then add the glitter around the edges. Apply glitter in diagonal lines (or any directions for stripes).
Pro tip: If you don't have epoxy or know how to work with it, these stars can sealed by adding another layer of mod podge on top of the glitter or using any other craft sealer like to avoid glitter shed. The epoxy is what really gives these stars a pretty shine though.
Finishing the Look

Finish the look by adding a bit of twine to hang the stars. If you desire, add on a vinyl decal and seal with epoxy.
Use a star vinyl decal in the middle or use letters to create words or phrases on the stars and create a banner or bunting with them similar to this Valentine Banner.
Another way to use them is to leave off the ties and add them to a Patriotic themed tiered tray. We have this patriotic wood craft kit to make your own.
Or simply display them around the home. Hang them on hooks, door knobs, or stand them up on an entryway table. So many fun possibilities depending on your space!
And if you want to go all out, attach them to a wreath form for a glitter red, white, and blue wreath!
I can't wait to see what you do with these Epoxy glitter stars!
Now it's your turn! Share your creations, like these glitter epoxy stars, with us in our Glitter Luv Crafters Facebook group. For more great glittery ideas, follow along with us on Pinterest, where we share lots of great glitter projects.
Pin this post for later:


