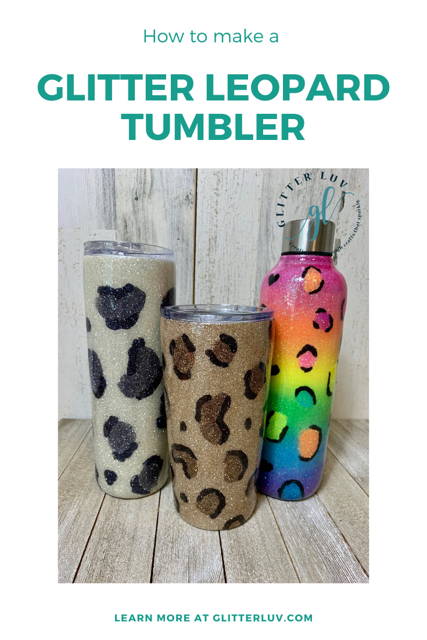
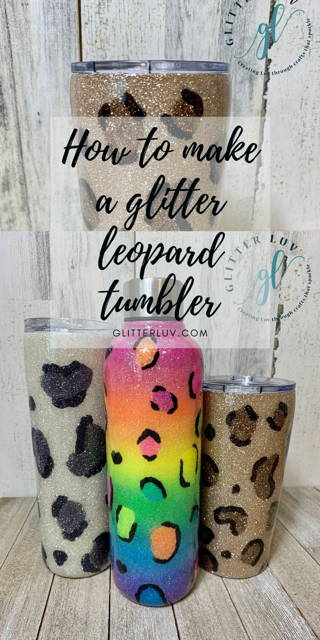
Glitter Leopard Tumbler
Supplies
Ready to get started? Here is what we used in addition to regular glitter tumbler supplies, like a turner, epoxy, glitter, etc.
- Spray paint
- paint brush
- optional vinyl decal
- Mod Podge
Instructions
Use any colors you want when you recreate these glitter leopard tumblers. We love a good neutral or snow leopard and have the packs with the perfect colors, but this technique will work with any color combination that you like.
1. The first step to create this tumbler is to spray paint the tumbler with a base color similar to the background glitter color if desired.
2. Use mod podge to add background glitter color to the entire tumbler. Paint nice even strokes and then sprinkle on glitter. With our glitter packs it is the lightest color as the base.
3. Use the middle shade of glitter to add in the spots. Free hand it and if you need help look at a picture of leopard print. Paint on spots with mod podge and sprinkle the mid tone glitter on each spot.
4. Outline the spots with the darkest color, paint on mod podge and then sprinkle on the darkest glitter color.
5. Finish and add decals as usual using epoxy.
Finishing the look
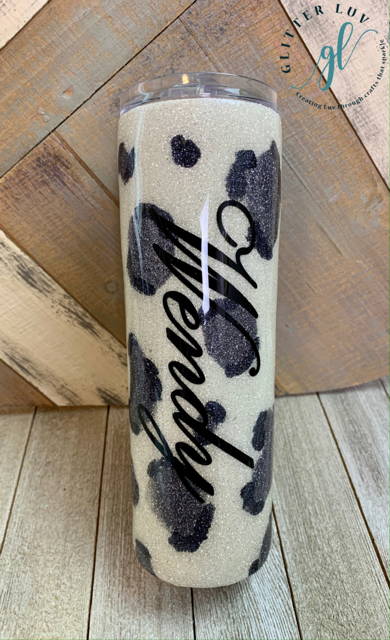
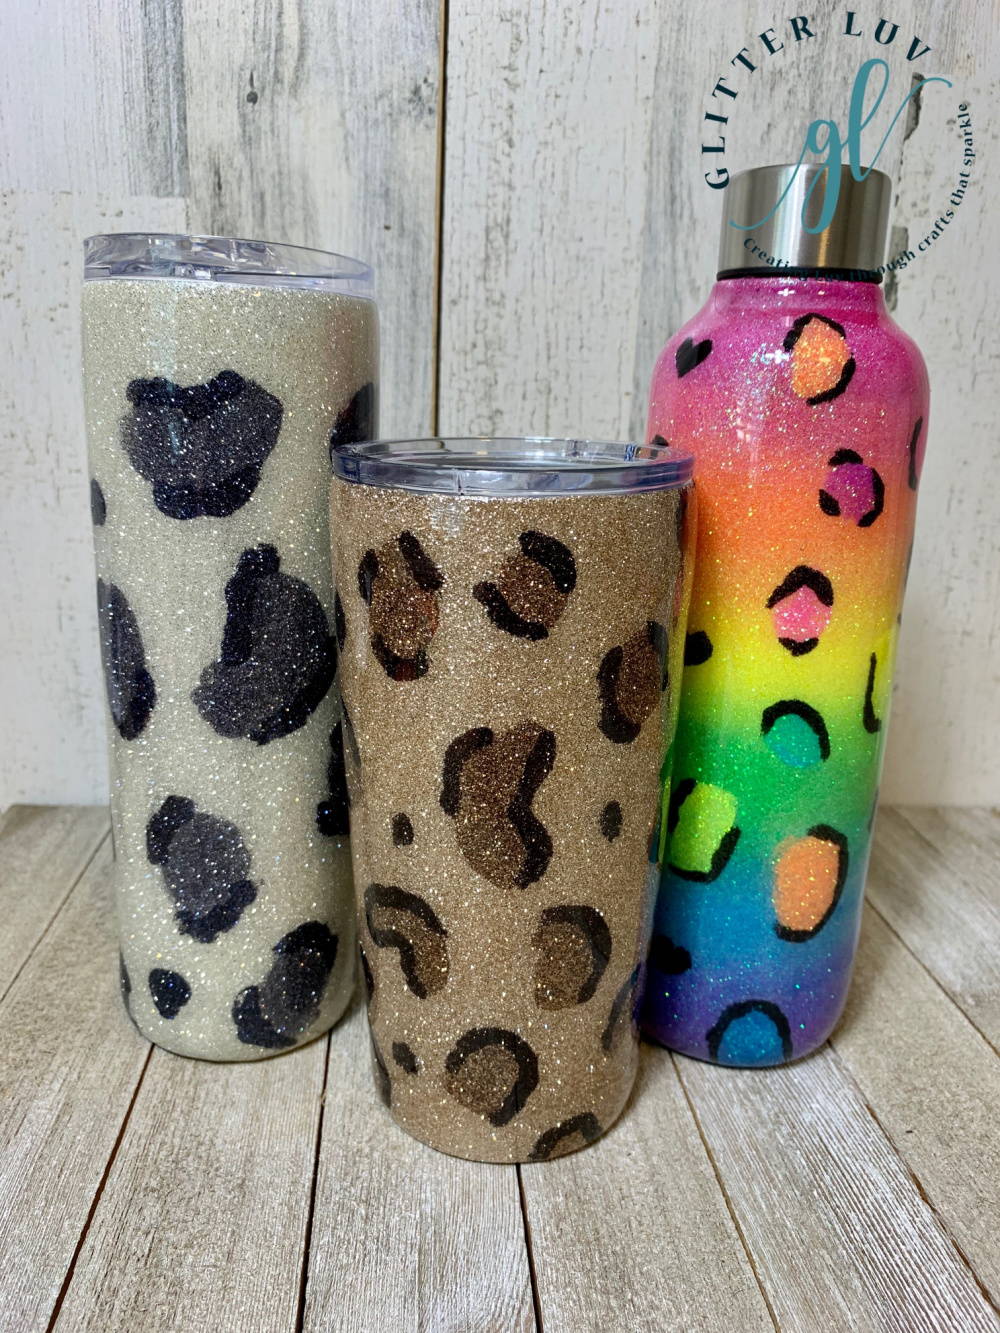
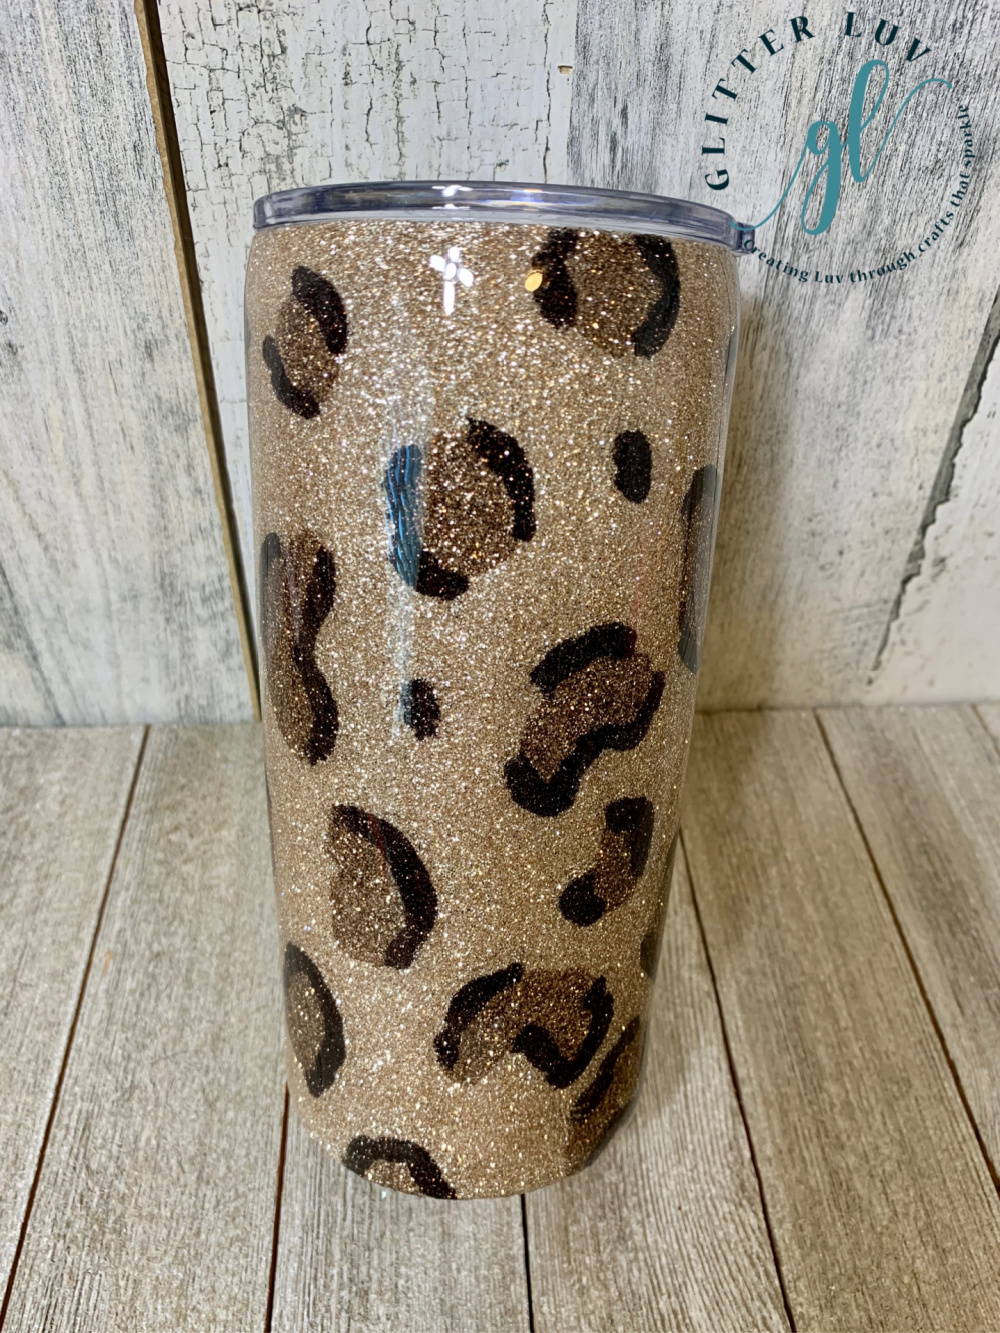
To finish the look you can add a vinyl decal, like a name, shape, or whatever personalized touch you'd like to add!!! We added a name and it looks so fun over the leopard print, but the leopard print looks great on it's own too! We hope you enjoy these wild and fun tumblers and that they inspire you to bring a little animal print to your life.
Now it's your turn! Share your creations with us in our Glitter Luv Creations Facebook group. For more great glittery ideas, follow along with us on Pinterest, where we share lots of great projects.
Please pin this post for later:
