Glitter Halloween Crafts and Projects
Halloween crafts with glitter can add a special seasonal touch to your existing home decor. We have rounded up our favorite Halloween projects.
As school is starting, the weather starts cooling off a little bit (hopefully), and it is time to start the Halloween crafts! Halloween has such fun colors and so many directions to go when creating the perfect Halloween projects.
Are you more traditional and like to use orange and black? Or do you add in purples and greens for an extra special spooky effect? Whatever color scheme you are using we have several shades and sizes of glitter to get just the look you are wanting.
This week we are sharing a roundup of scary good Halloween crafts. We have witches, ghosts, pumpkins, and tumblers, oh my! Let's get into the Halloween mood by crafting, creating, and enjoying.
Halloween Tumblers
Sip a warm or cold drink from a seasonal tumbler!
The first tumbler on the left is a fun nod to a favorite fall treat, candy corn! This one is easily made by starting with a white section on the bottom, followed by orange, and then yellow.
The second tumbler we are sharing deserves a 360 degree look! A fun trick or treat decal is on one side, then a haunted house silhouette with bats flying through the sky is just cool, but what really sets this tumbler apart is the gorgeous mix of colors and glitters. It is almost like an eerie sunset.
Mod Podge Crafts
Mod podge and glitter are a Halloween crafting match made in heaven. All you need are some Halloween shapes, glitter, a paint brush and mod podge.
This cute black cat and pumpkin were simple to make.
Steps
1. Add a thin layer of mod podge to your cut out with a paint brush.
2. Sprinkle glitter over wet mod podge over a paper to save you excess glitter.
3. Let the glitter dry and decorate your home.
These cutouts would be great to make a spooky Halloween tree! Hang them indoor or outdoors on a thin tree. You could even paint it black or create your own with sticks or twigs.
Use a similar process to create this cute witch cut out, but do each section one at a time.
Steps
1. Paint the face. Let dry.
2. Apply mod podge to the hat and sprinkle with glitter. Let dry.
3. Repeat with the hair, robe, cauldron, and brew within the cauldron.
Be sure to allow each section to DRY completely before moving to the next section to avoid glitter mixing.
This same process can be used for any other similar pieces to get a varied color look.
Have fun and add variety to a bunch of ghosts using a variety of whites and silvers!
These would make a great banner or garland. Add glitter to ghost cut outs in varying shades and then string up on a piece of twine or ribbon and hang on a mantel, doorway, or where ever you can find a place in your home.
Sparkly Pumpkin Arrangement
This Halloween project is so pretty, but actually really easy!
Supplies:
1. A plastic pumpkin or jack o' lantern
2. Glitter
3. Flowers
Steps:
1. Start by adding a layer of mod podge to a small section of the pumpkin and glittering with an orange glitter.
2. Repeat in sections until the entire pumpkin is covered.
3. This project could be completed here, but if you want to create a floral arrangement in the pumpkin, cut out a small circle in the top.
4. Arrange flowers and stems to get a fun arrangement.
Halloween Wood Sign
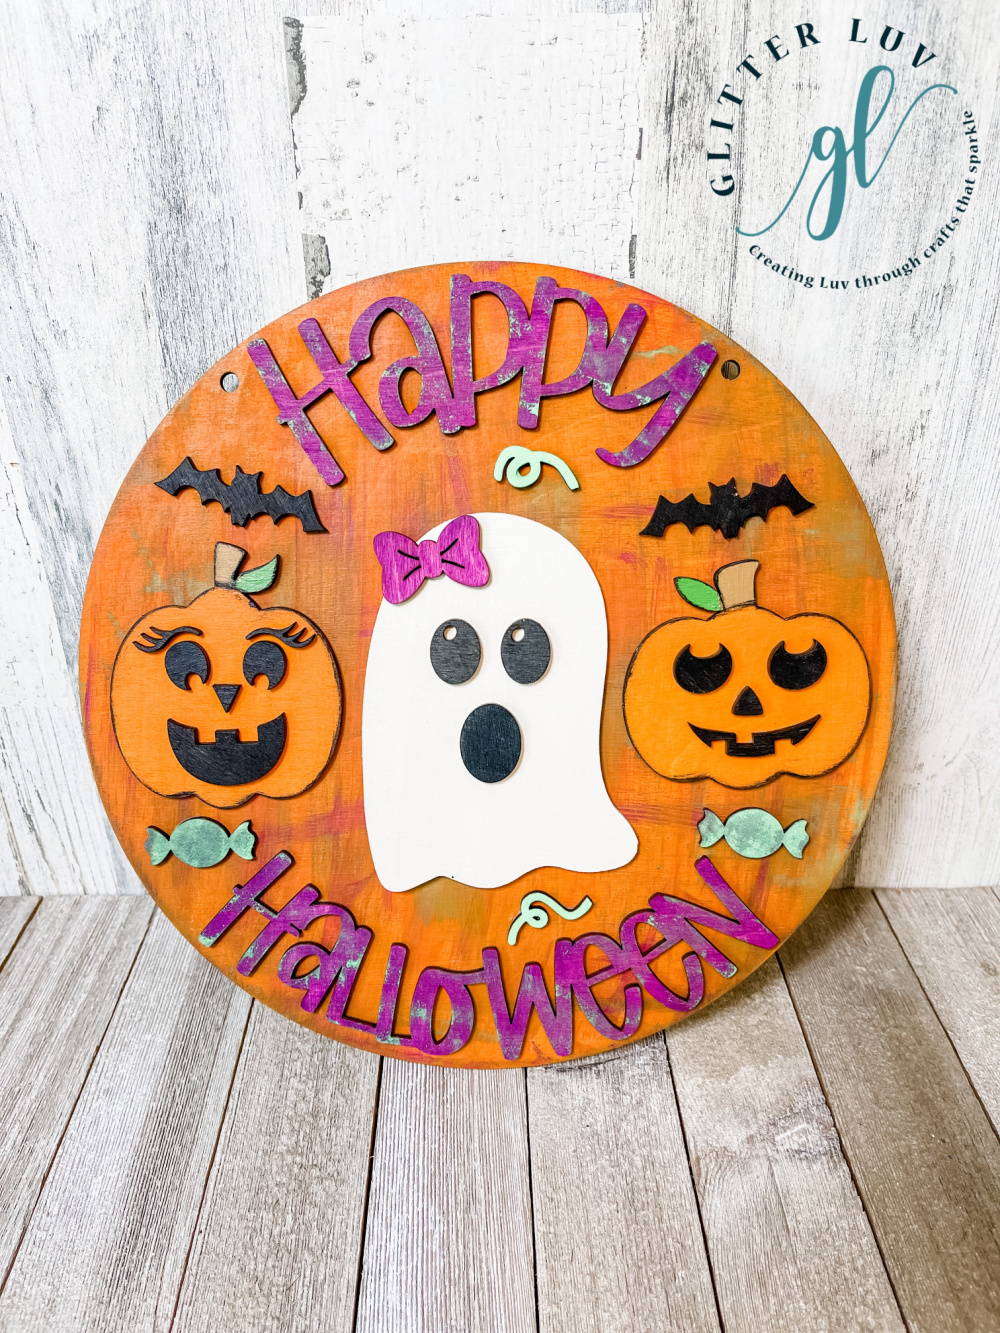
The next Halloween project is easy, but so cool!!!
Supplies:
Steps:
1. Start by painting all of the pieces in the craft kit.
2. Allow to dry.
3. This project could be completed here, but if you want to add any other glitter or accents and allow to dry.
4. Use craft glue to glue all pieces together and allow to dry.
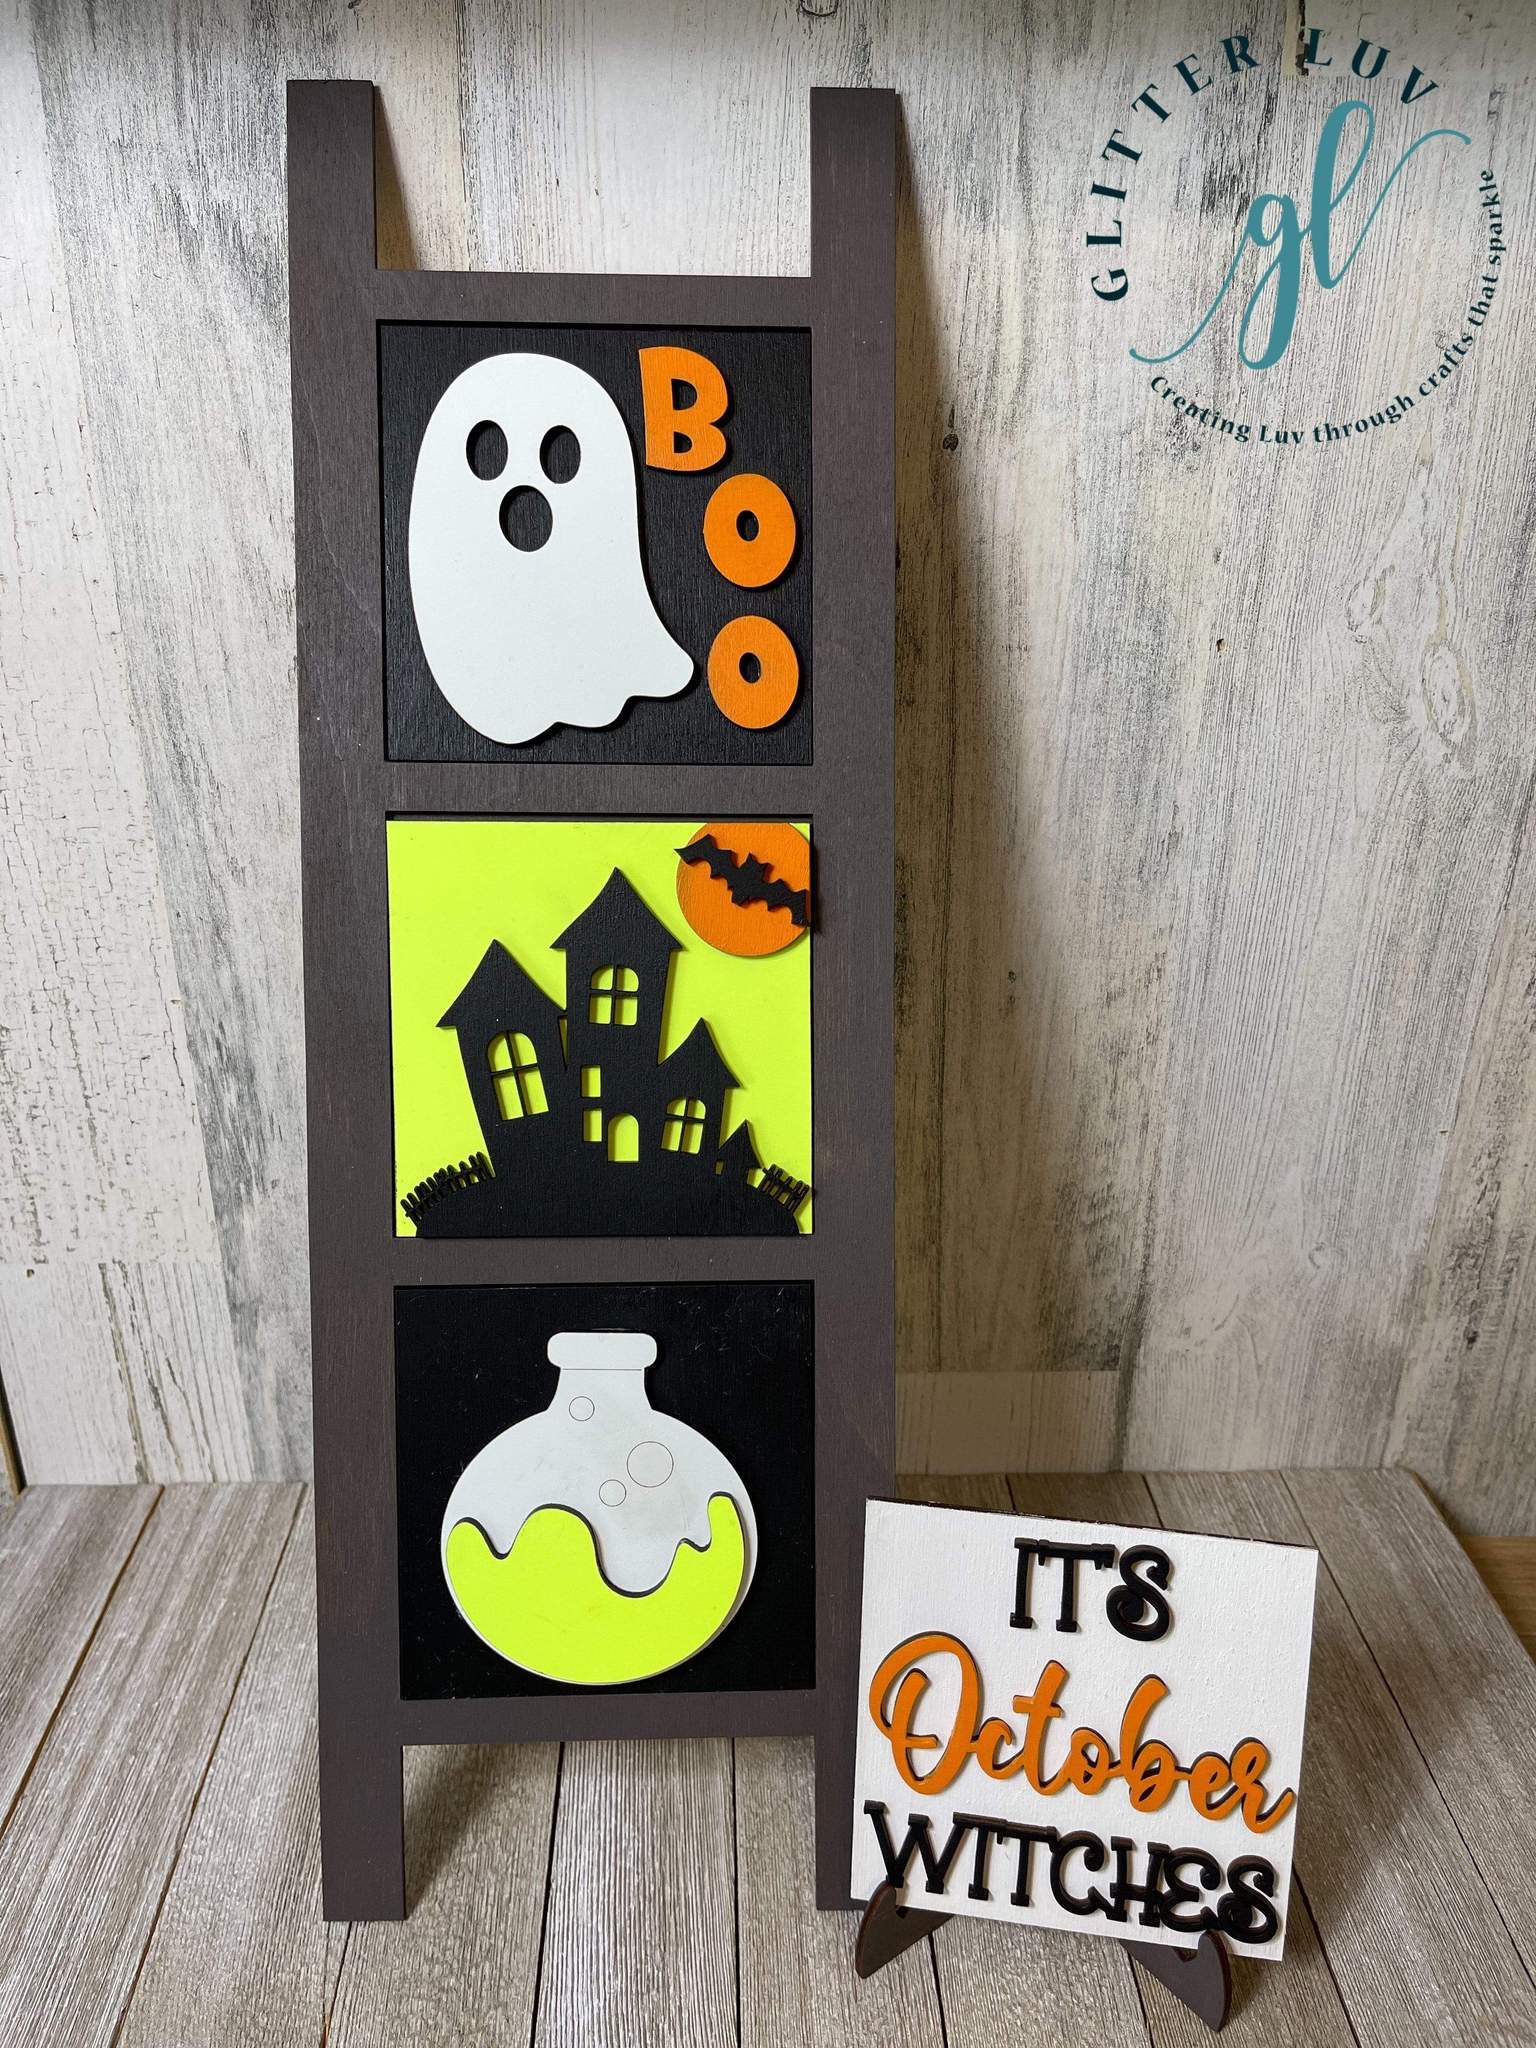
Halloween Ladder Decor

And if you have been loving our interchangeable ladder decor kits, grab these updated ones for Halloween.
Supplies:
Steps:
1. Start by painting all of the pieces in the craft kit.
2. Allow to dry.
3. This project could be completed here, but if you want to add any other glitter or accents and allow to dry.
4. Use craft glue to glue all pieces together and allow to dry.
Now it is your turn to get creating! We can't wait to see what you create and be sure to share it with us in our Glitter Luv Creations group on Facebook.
Please pint this post for later: