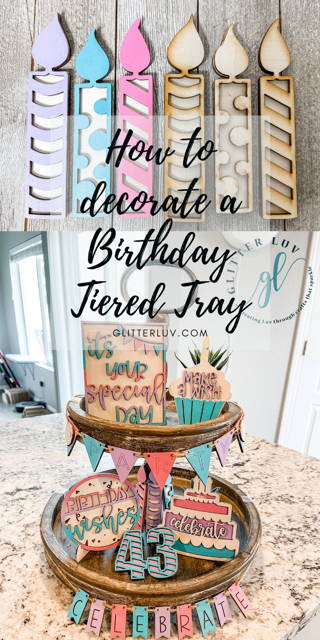
Creating a Custom Birthday Themed Tiered Tray
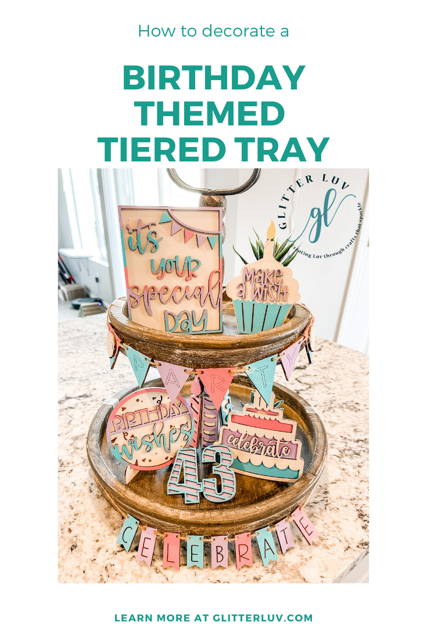
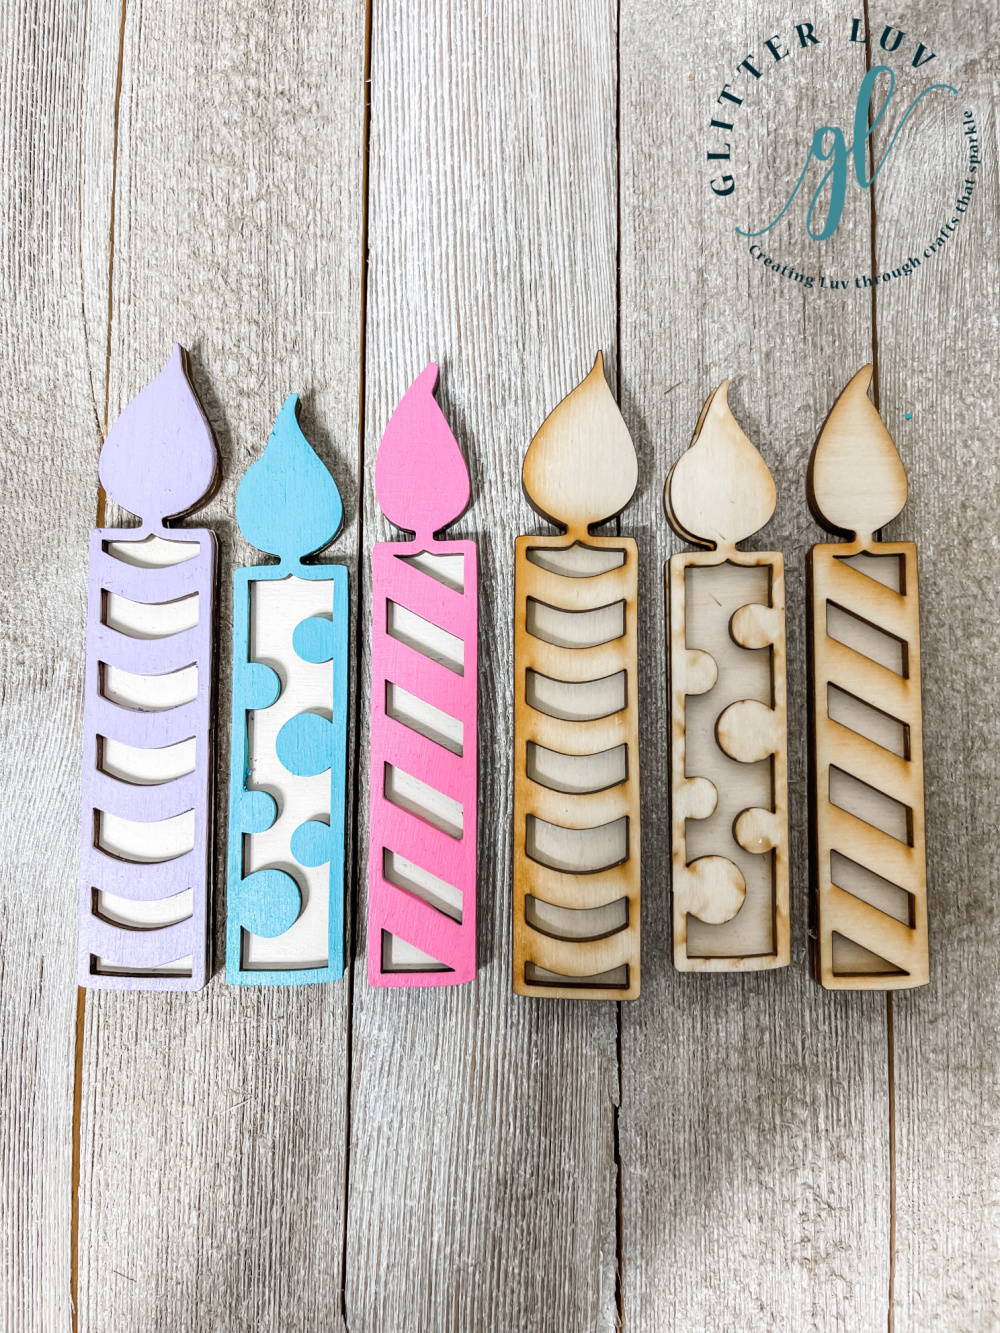
We are getting really close to our Founder's Birthday! And to celebrate we are sharing how to decorate a birthday themed tiered tray with our newest wood DIY kit. We have been offering the cutest wood tray kits. We have holiday themed ones and everyday themed kits too. The great thing about this kit, is you can make up this kit and use it for every birthday. It comes with cute numbers so you can display ages too!
Pick your favorite color scheme and add your own flair to this wood kit. We had fun with some ombre style painting techniques on some of the pieces. We recommend planning out your color scheme and paint colors for each pieces, but if something doesn't turn out just how you like it, it is easy enough to paint over it! Have fun with it and make it your own.
If you don't have a tiered tray, you could even set this kit up on a hutch, mantel, entryway table, anywhere you have a little spot. Let's get painting, glittering, and celebrating all of your favorite people's birthdays! You could even host a birthday party craft night. Everyone can decorate their own kit to use in their home. I think this sounds like a great birthday girls night party.
Supplies
Grab the supplies you need:
1. Glitter
2. Mod Podge
3. Paint Brushes
4. Craft glue
6. Paint
Instructions
Let's get crafting this birthday themed tiered tray kit.
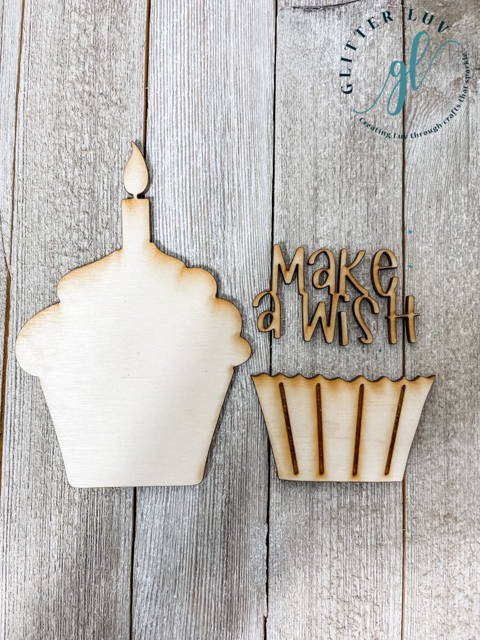
1. Pick out your paints and glitters. Plan out what colors will go where.
2. Paint base colors and allow to dry, repeating as necessary for layers.
3. Add glitter. Paint on a thin layer of Mod Podge to the area you desire to glitter.
4. Sprinkle on glitter.
5. Allow to completely dry.
6. Repeat with other sections as needed.
7. After completely dried, paint another thin layer of mod podge to seal in the glitter and avoid glitter shedding.
8. Glue together any pieces that come apart for painting. This is super easy, because the pieces are scored for easy placement. Allow Glue to dry.
9. Display! Arrange on your tray, mantle, or wherever you can find a cute nook for the pieces in this awesome kit.
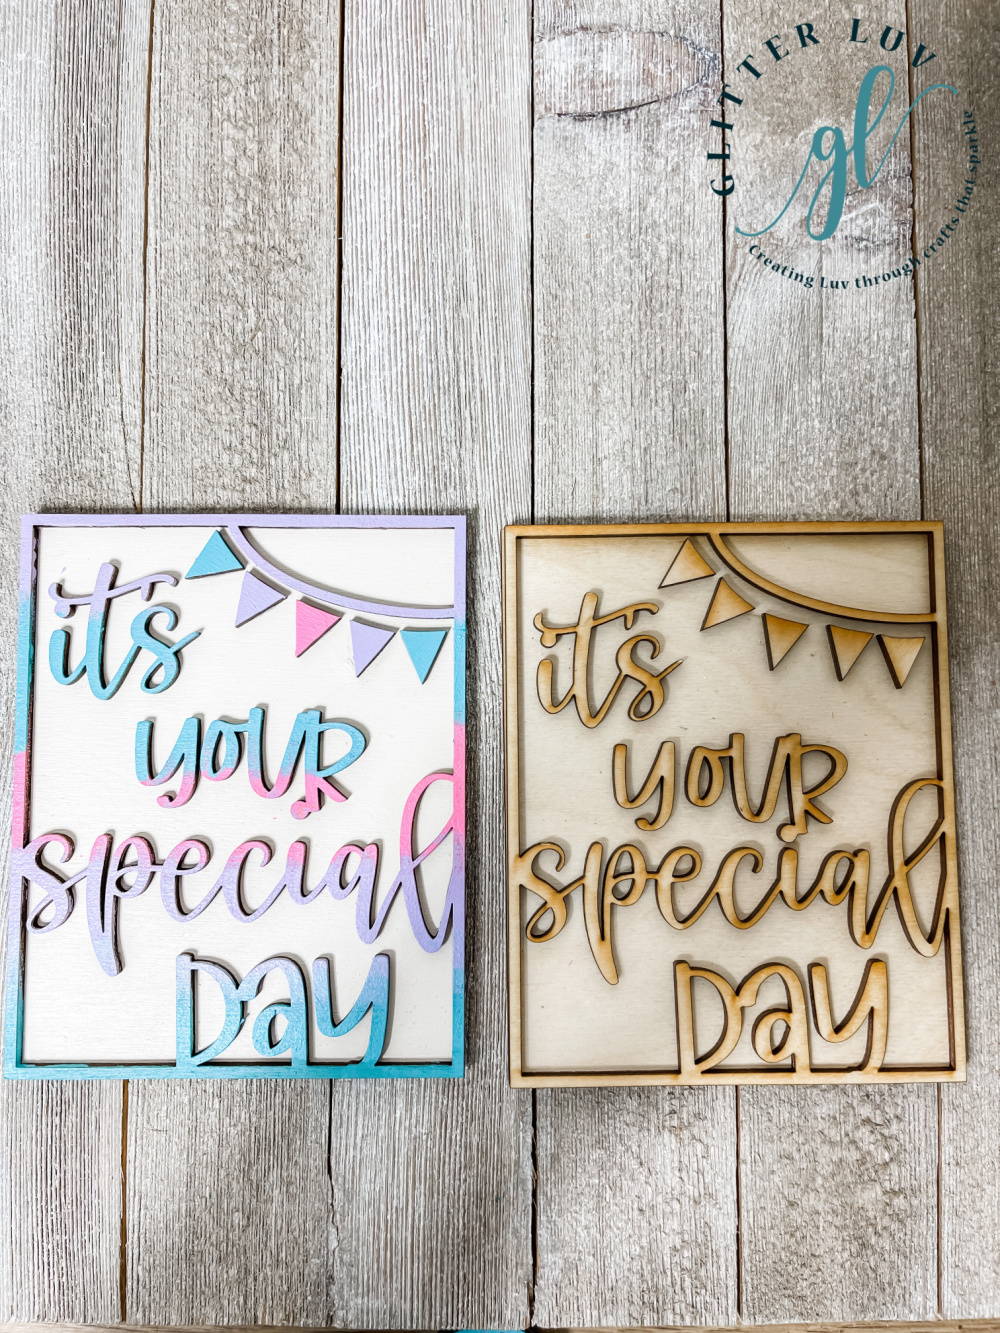
Tip: Add an ombre look by painting a blended look on some pieces. Start with one color and then brush on the next color, followed by the next, like in the "It's your special day" sign.
Finishing the Look
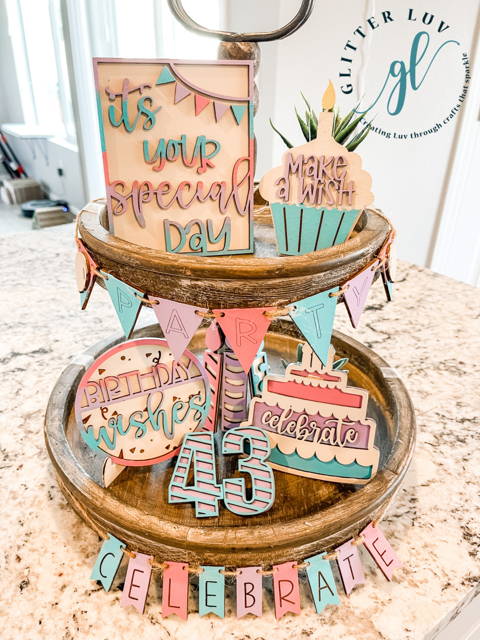
Look at how cute each of these pieces turned out! We went with a blue, pink, and purple theme, but any color scheme would work great with this birthday tiered tray kit.
Mix and match the pieces from the kit and arrange them on your tray. Be sure to grab a piece of twine and make a cute mini celebrate and party banner. These are fun to hang from a higher tier to a lower tier or around the tray as shown in the photo.
If your tiered tray is small, some pieces could be set on a stand near the tray to complete the look.
Now it's your turn! Share your creations with us in our Glitter Luv Creations Facebook group. For more great glittery ideas, follow along with us on Pinterest, where we share lots of great projects.
Pin this post for later: